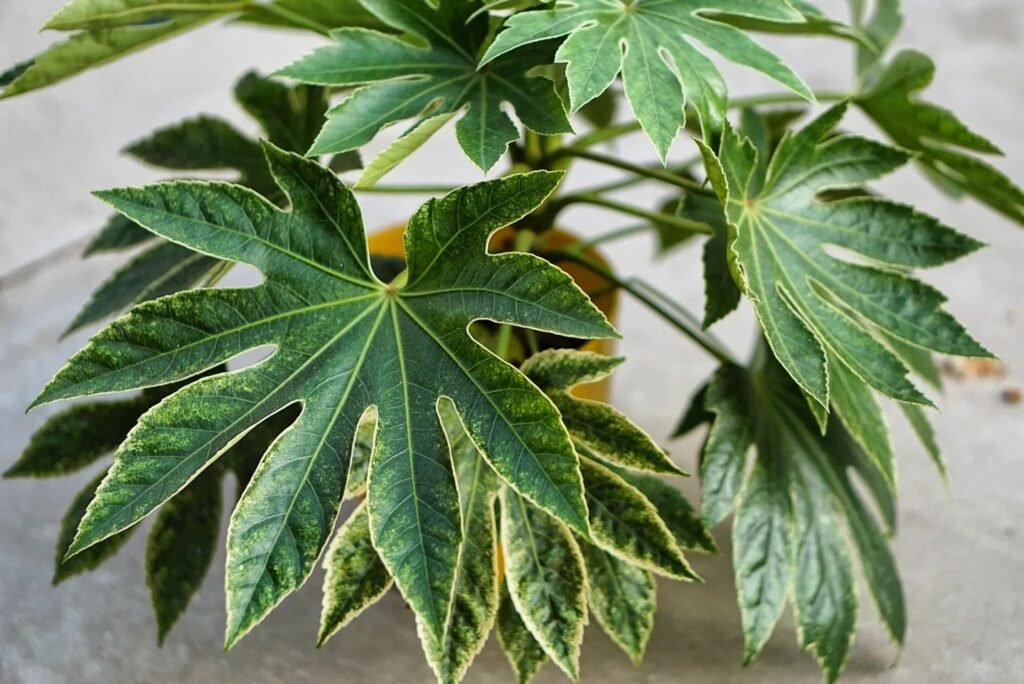
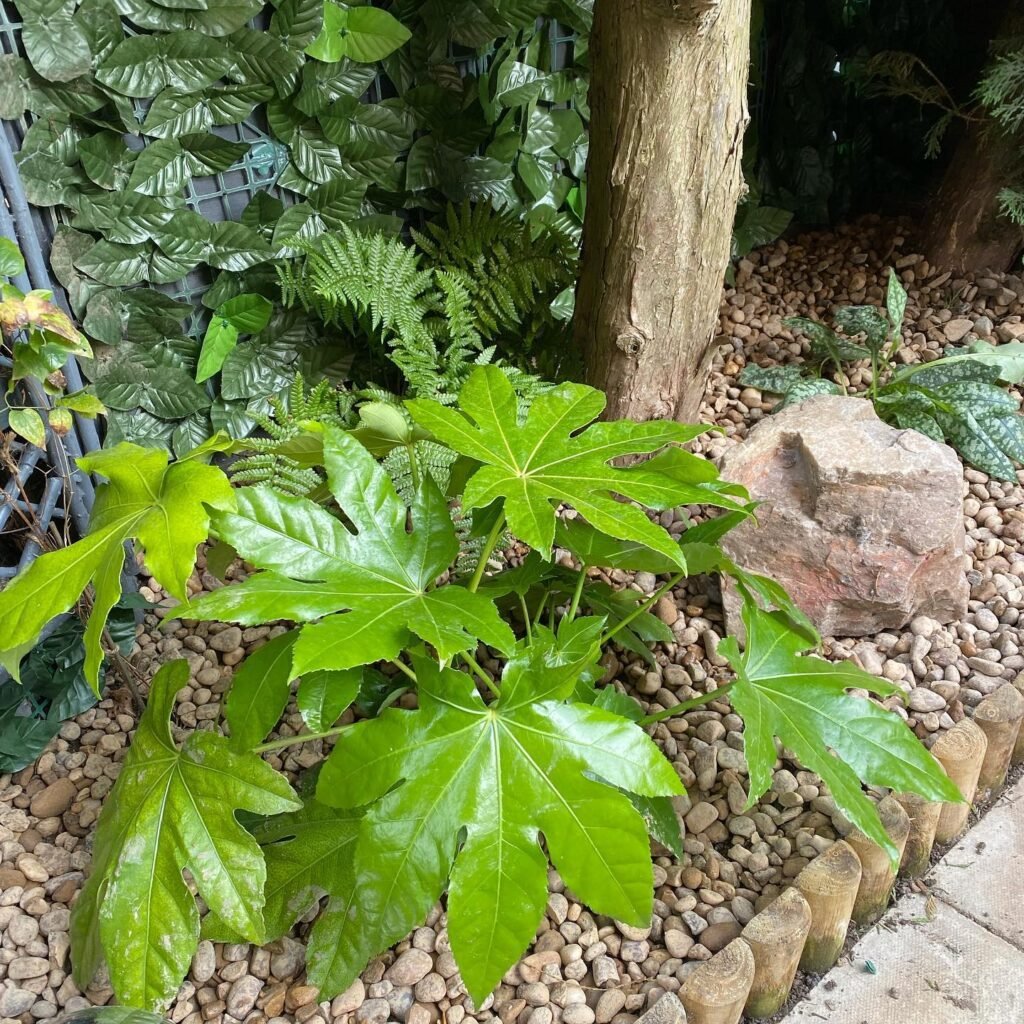
Let me tell you about my delightful Fatsia Japonica, also known as the Japanese Aralia or Paper Plant. It’s a stunning plant with glossy evergreen leaves that bring a touch of exotic beauty to my garden. The spherical ivy-like flowers add an extra burst of elegance, especially during the winter months.
One of the things I love most about my Fatsia Japonica is its versatility. It can thrive in both shady spots and hot sunny locations, making it the perfect choice for patios and gardens alike. Plus, it’s slow-growing, so I don’t have to worry about it taking over my entire outdoor space.
Living in the UK, I appreciate how hardy this plant is. It can tolerate coastal conditions, is salt and wind tolerant, and adds a touch of green even in the harshest of conditions. It truly is a resilient and beautiful addition to any garden.
Appearance of Fatsia (Fatsia japonica)
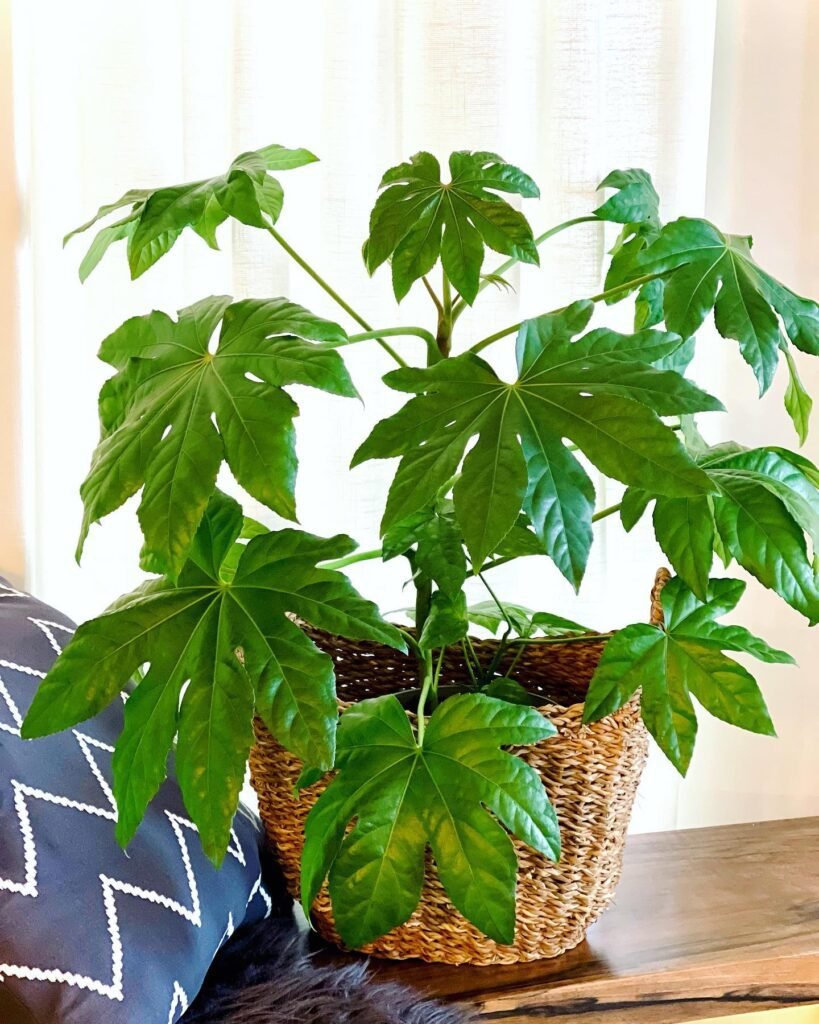
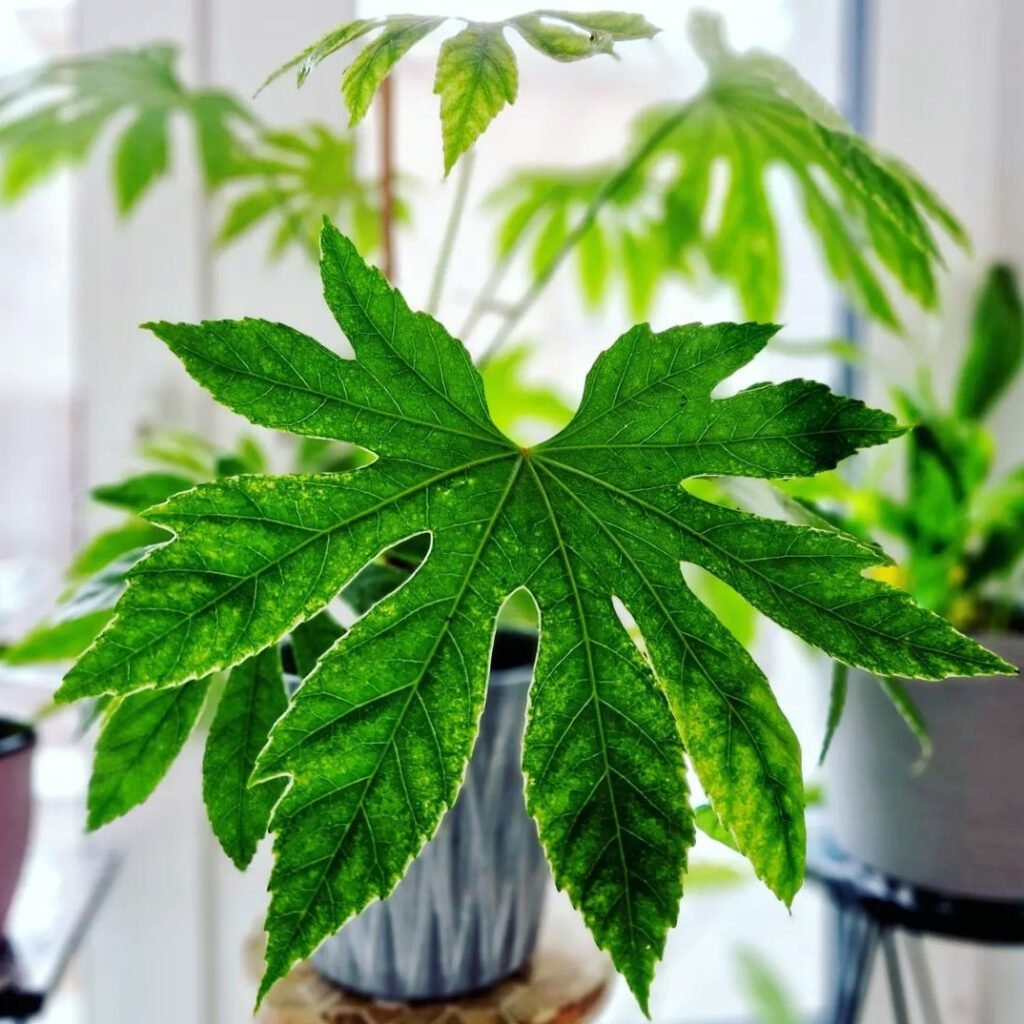
The Fatsia Japonica has large, glossy, palmate leaves that give the plant a tropical appearance. The leaves can grow up to 10ft high and create a rounded dome. There is also a variegated version of Fatsia Japonica with cream-edged leaves. It makes a striking addition to any garden or indoor space.
 The Fatsia japonica impresses with shiny, lobed leaves and late-year blooms that feed pollinators when little else does. Its winter berries add charm and support wildlife, while its robustness and love for the shade make it a garden favourite all year round.
Light Requirements for Fatsia japonica
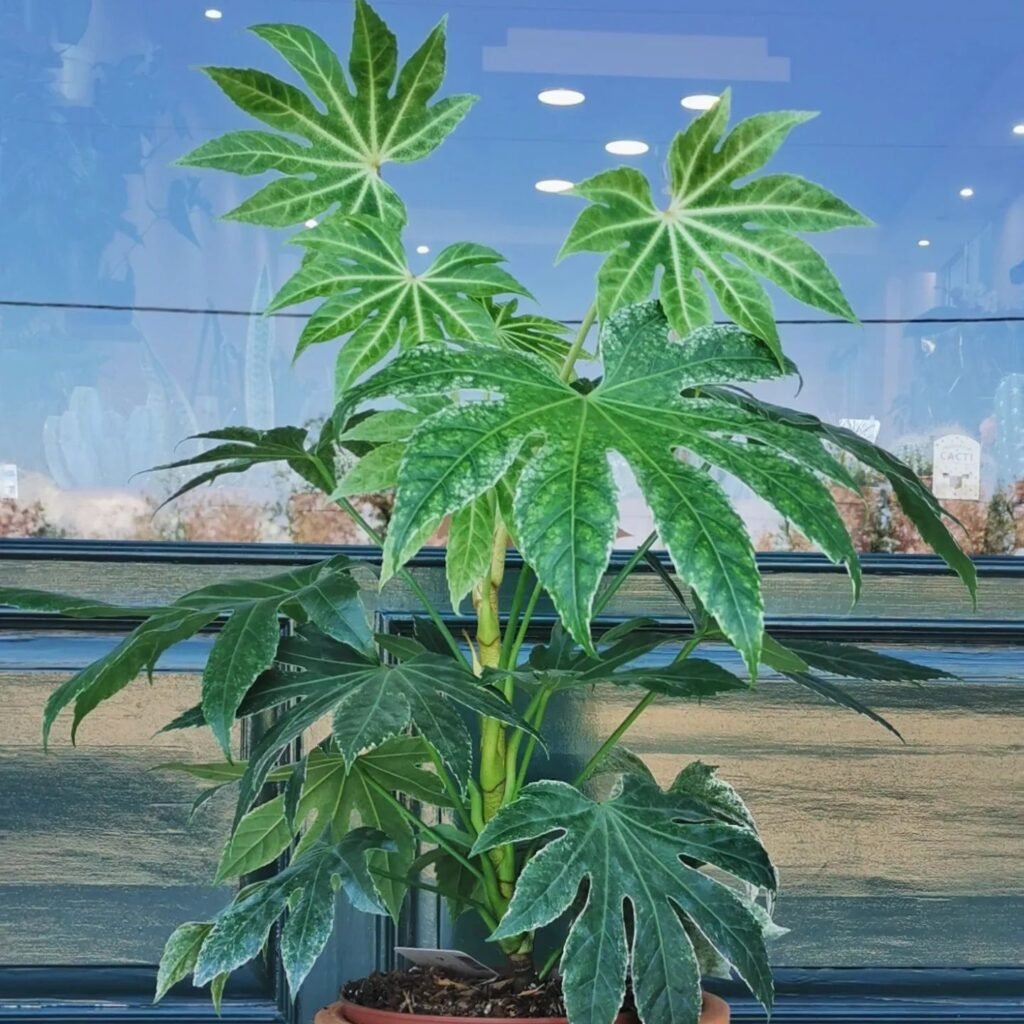

Fatsia Japonica can thrive in various light conditions, making it a versatile plant for both indoor and outdoor cultivation. In outdoor gardens, it prospers in partial to full shade, making it an excellent choice for those hard-to-fill areas. Whether it’s a shady corner or a spot beneath a tree, Fatsia Japonica’s glossy leaves will bring life and vibrancy.
When considering indoor growth, it’s crucial to select a cool, well-ventilated room that doesn’t rely on central heating. Direct sunlight should be avoided, as it can cause leaf bleaching, compromising the beauty of the plant. Instead, opt for a location with diffused morning light, which provides the perfect balance of brightness without harming the leaves.
“Fatsia Japonica is a versatile plant that can adapt to various light conditions, creating an enchanting atmosphere both indoors and outdoors.” – Oliver Greenfield, Gardening Expert
Fatsia Japonica’s adaptability also extends to growing in pots. Whether you have limited outdoor space or want to bring the plant indoors, it is an ideal choice. Planting Fatsia Japonica in pots allows you to position it strategically to create a stunning focal point wherever you desire. From balconies to patios and even interiors, the possibilities are endless.
- Fatsia Japonica adds a touch of lush greenery to indoor spaces, creating an inviting atmosphere.
- Potted Fatsia Japonica can be easily moved to optimize its exposure to light throughout the day.
- Indoor pots provide the perfect opportunity to showcase Fatsia Japonica’s striking foliage and elegant presence.
Whether you choose to grow Fatsia Japonica outdoors in partial shade or bring it indoors into pots, this adaptable plant will continue to impress with its enduring beauty and ability to thrive in different light conditions.

Watering Tips for Fatsia Plant
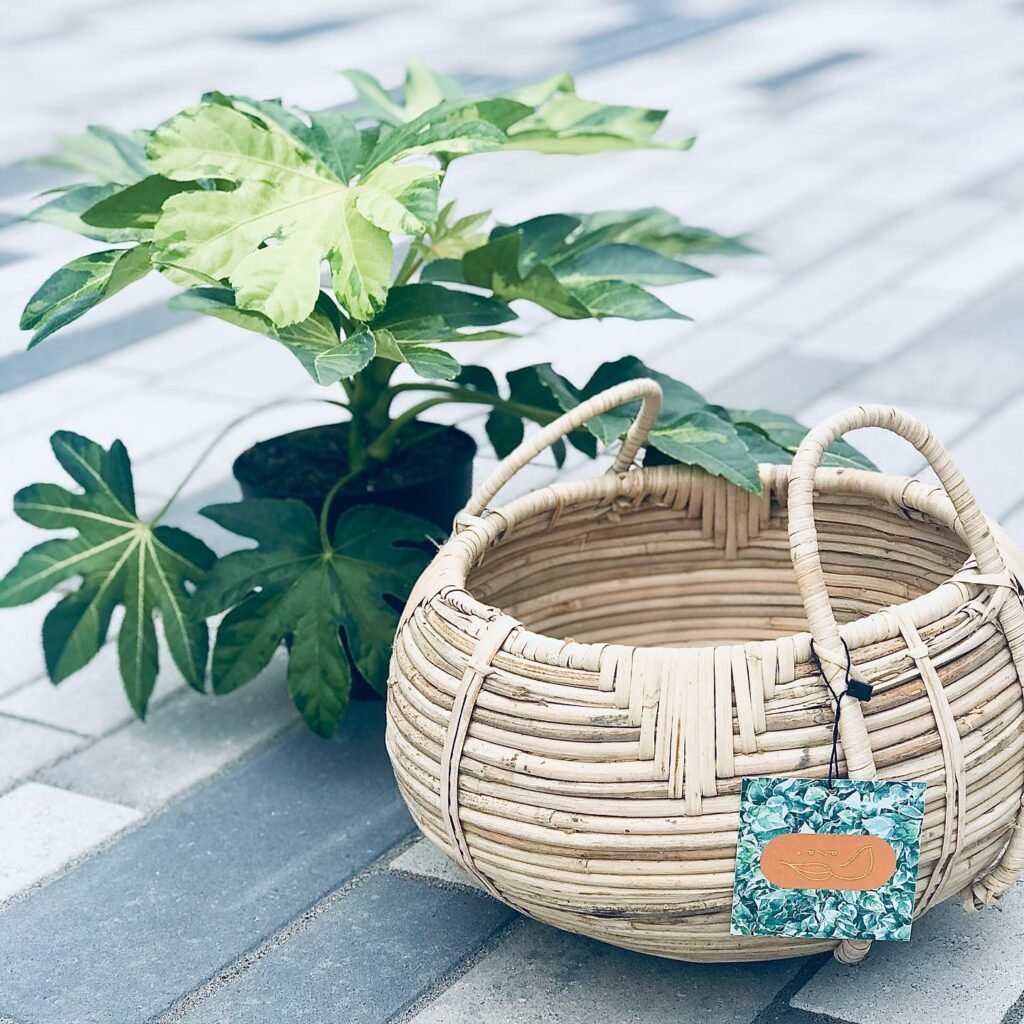
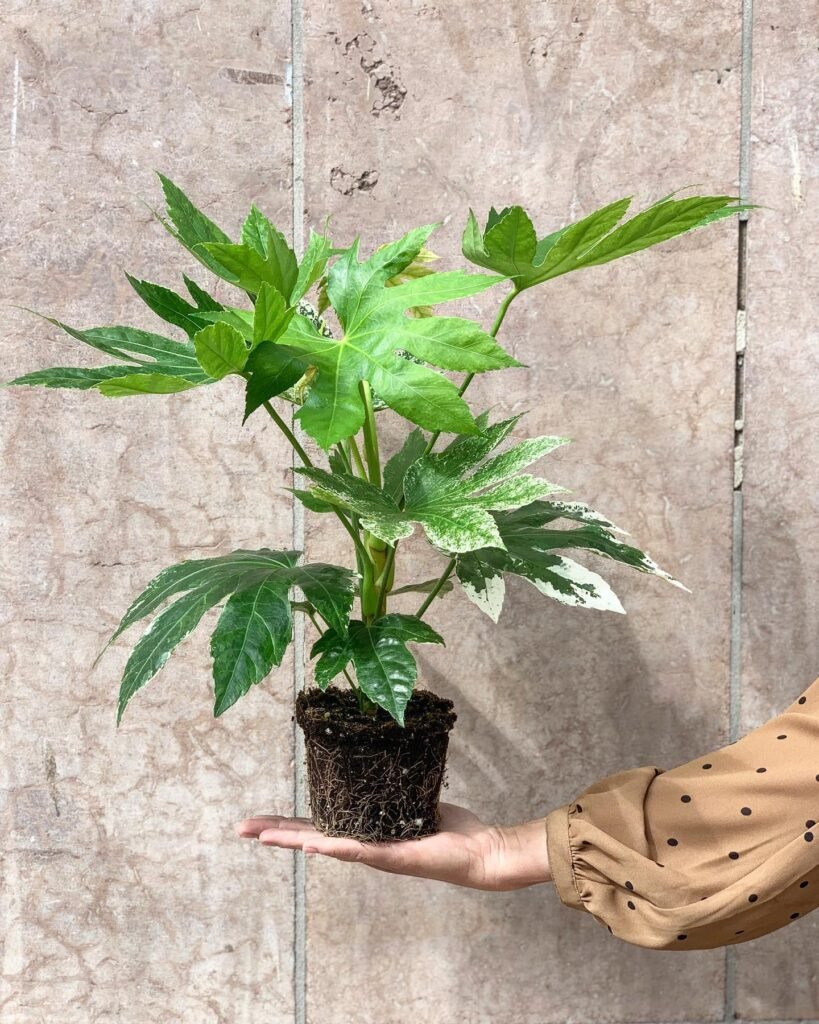
When it comes to watering your Fatsia Japonica, it’s important to strike the right balance. During its growing season in spring and summer, regular watering is essential to keep the plant healthy and thriving. However, it’s crucial to avoid overwatering, which can lead to root rot and other problems.
To meet the water requirements of Fatsia Japonica, keep the soil slightly moist but not overly wet. A good practice is to allow the soil to partially dry out between waterings. This will prevent waterlogged conditions and promote healthy root development.
During the fall and winter months when the plant is resting, watering should be reduced. It’s essential to ensure that the soil is not kept consistently wet during this period. Letting the plant experience some dryness will help it go dormant and prepare for the next growing season.
If you notice yellowing leaves on your Fatsia Japonica, it could be a sign of overwatering. In such cases, it’s best to adjust your watering routine and allow the soil to dry out more between waterings. This will help prevent any potential damage and maintain the plant’s overall health.

Fertilizing and Soil for Fatsia japonica


Fatsia Japonica is a versatile plant that can thrive in a variety of soil types as long as they are well-drained. Whether you have sandy soil, loamy soil, or clay soil, Fatsia Japonica can adapt and flourish. Its hardy nature makes it a low-maintenance choice for gardeners of all skill levels.
When planting Fatsia Japonica in spring, it’s beneficial to enrich the soil with well-rotted compost or manure. This will provide the plant with the necessary nutrients to support its growth. Compost and manure are organic options that nourish the soil and promote healthy root development.
If you want your Fatsia Japonica to thrive, take the time to prepare the soil before planting. Incorporating compost or manure will give your plant a head start in establishing deep and strong roots.
During the growing season, which spans from spring to autumn, it’s recommended to fertilize Fatsia Japonica once or twice a month. A slow-release fertilizer is ideal for providing a steady supply of nutrients over an extended period. A balanced fertilizer, containing equal amounts of nitrogen (N), phosphorous (P), and potassium (K), ensures that the plant receives a comprehensive mix of essential elements.
- Choose a slow-release fertilizer with a balanced NPK ratio.
- Apply the fertilizer according to the package instructions, taking care not to exceed the recommended dosage.
- Water the plant after fertilizing to help the nutrients penetrate the soil and reach the roots.

Pruning and Maintenance of Fatsia japonica

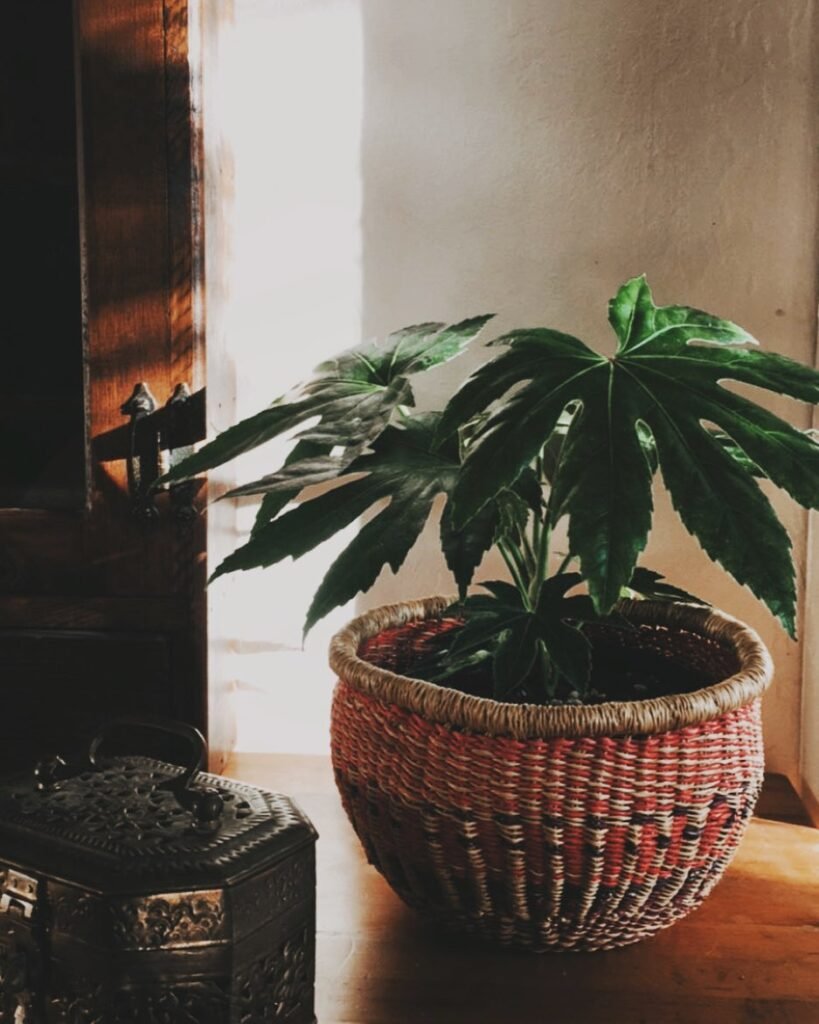
Fatsia Japonica, with its minimal pruning requirements, is an easy-to-maintain plant. Regularly removing dead or dying leaves will keep it looking neat and healthy. To maintain a pleasing shape, light pruning can be done in mid- to late-spring.
If your Fatsia Japonica becomes too tall or wide, don’t worry! You can trim unwanted stems back to a bud in spring to encourage bushier growth. This will help keep the plant within your desired size limits.
Keep in mind that severe frost can be damaging to your Fatsia Japonica. In such conditions, it’s a good idea to provide winter protection. Simply cover the plant with a protective fleece to shield it from the harsh cold.

Propagating Fatsia japonica
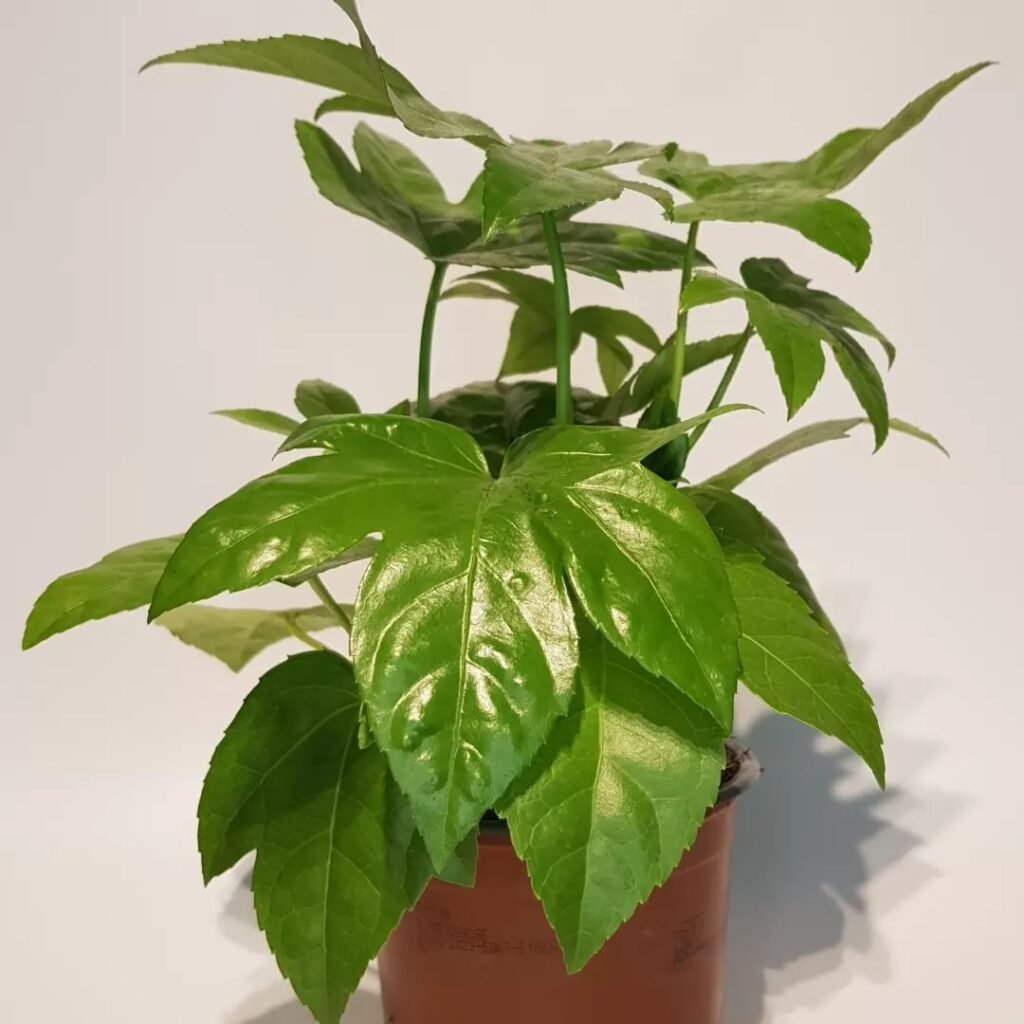
If you want to expand your Fatsia japonica collection or share this beautiful plant with friends and family, you can easily propagate it from semi-ripe cuttings. Here’s a step-by-step guide on how to propagate Fatsia japonica:
- Choose a mature, healthy Fatsia japonica plant from which to take cuttings.
- In late summer, select a stem that is semi-ripe—somewhere between soft and woody.
- Using clean and sharp pruning shears, take a 5-6 inch cutting just below a leaf node.
- Remove the lower leaves from the cutting, leaving only a few at the top intact.
- Dip the cut end of the stem into rooting hormone powder to promote faster root development.
- Prepare a well-draining potting mix or a blend of equal parts perlite and peat moss.
- Make a hole in the soil and insert the cutting, gently firming the soil around it.
- Water the cutting thoroughly, ensuring that the soil is evenly moist but not waterlogged.
- Cover the cutting with a plastic bag or place it in a propagator to create a warm and humid environment for root growth.
- Position the cutting in a bright, indirect light location, but avoid direct sunlight.
- Maintain the moisture level by misting the cutting and checking the soil regularly.
- After one to two months, the cutting should develop roots and show signs of new growth.
- Carefully transplant the rooted cutting into a slightly larger pot with well-draining soil.
- Continue to care for the young plant by following the instructions outlined in the previous sections.
Tip: Propagating Fatsia japonica from cuttings can be a rewarding and cost-effective way to expand your plant collection or share the beauty of this plant with others. Remember to be patient and provide the optimal conditions for successful root development.

Repotting Tips for Fatsia japonica
When caring for your Fatsia japonica, you may need to consider repotting it at some point. Repotting is necessary when the plant starts to outgrow its current pot or at least once a year as part of routine maintenance.
To successfully repot your Fatsia japonica, follow these guidelines:
- Choosing the right pot size: Move your Fatsia japonica to a larger pot that can adequately accommodate its growth. Opt for a heavy container made of ceramic or terra-cotta, as the top growth of the plant can become heavy.
- Preparing the potting mix: Use a potting mix that contains organic matter, such as compost or well-rotted manure. This will provide the necessary nutrients for your plant’s healthy growth. Additionally, consider adding a slow-release fertilizer to ensure a consistent supply of nutrients over time.
- Repotting the plant: Carefully remove the Fatsia japonica from its current pot, gently loosening the roots if necessary. Place it in the new pot, ensuring that it is positioned at the same depth as before. Fill the remaining space with the prepared potting mix, ensuring that the plant is securely anchored.
- Watering after repotting: After repotting, give your Fatsia japonica a good watering to settle the soil and provide ample hydration. In the following weeks, continue to water the plant regularly, allowing the soil to partially dry out between waterings to prevent overwatering.
Common Problems with Fatsia japonica
Fatsia japonica, like any other plant, may experience certain issues that require attention and care. Here are some common problems that you may encounter with your Fatsia japonica:
- Pests: Fatsia japonica is susceptible to pests such as scale insects, thrips, and mealybugs, especially when grown indoors. These pests can cause damage to the leaves and hinder the plant’s growth. To treat these pests, you can use neem oil spray, an organic solution that is effective in controlling and eliminating them.
- Leaf Spot: Leaf spot is another issue that may affect Fatsia japonica. It is characterized by the appearance of dark spots on the leaves. To prevent the spread of leaf spot, it is important to remove the affected leaves promptly. Regularly inspect your plant and remove any affected foliage to maintain its overall health.
- Yellowing Leaves: While yellowing leaves can indicate a potential soil problem, it is not always the case with Fatsia japonica. The plant is generally hardy and can tolerate various conditions. However, if you notice persistent yellowing of leaves, it is advisable to check the soil moisture levels and make sure it is not being overwatered. Adjusting the watering frequency and ensuring well-draining soil can help resolve this issue.
 The Fatsia japonica, or Paperplant, wows with its lush, shiny leaves, adding a splash of the exotic. Happy in shadow or sun, it’s a symbol of growth and luck, easy to care for and visually stunning, perfect for gardens or indoors.
Toxicity of Fatsia japonica to Pets
Fatsia Japonica is not poisonous to humans, dogs, or cats. It is a pet-friendly plant and can be safely grown in households with pets. However, it is always advisable to monitor pets around plants and prevent them from ingesting any parts of the plant.
Helpful Videos about Fatsia Japonica
Have a look at these brilliant videos I’ve found on Fatsia japonica care. They’re chock-full of tips to make caring for your plant dead simple. Spot on for anyone looking to get into gardening!
- How to Grow and Care for Japanese Aralia Indoors
Frequently Asked Question about Growing Fatsia Japonica

Wondering how to look after your Fatsia japonica? You’re in the right spot! I’ve pulled together the most asked questions to help you care for your Japanese Aralia with ease. From sorting out the watering to tackling leaf issues, I’ve got you covered.
It prefers indirect, bright light. Too much direct sunlight can burn the leaves, so a bit of shade is good, especially in the afternoon.
Water when the top inch of soil feels dry. They like moisture but don’t do well in soggy soil.
A well-draining potting mix is ideal. Adding a bit of perlite or sand can help improve drainage.
Yes, it makes an excellent houseplant. Just make sure it gets enough light and isn’t too close to hot radiators.
Indoors, it can grow up to 6 feet tall and wide. Outdoors, it can reach even larger sizes if the conditions are right.
Feed it with a balanced liquid fertilizer every few weeks during the growing season (spring and summer).
Yes, in milder climates. It prefers a sheltered spot with some shade and protection from harsh winds.
Prune in late winter or early spring to remove any dead or damaged leaves and to shape the plant.
Yellow leaves can be a sign of overwatering, poor drainage, or lack of nutrients. Check the soil and adjust your care accordingly.
It can tolerate some frost but needs protection from severe cold. Bring potted plants indoors or provide insulation outdoors in colder areas.
The easiest way is by taking stem cuttings in spring or summer and rooting them in water or soil.
Yes, they bloom in late autumn to early winter with white, globe-shaped flowers, followed by blackberries.
Watch out for aphids, spider mites, and mealybugs. Regularly inspect your plant and treat it with insecticidal soap if needed.
Absolutely. It’s great for adding a lush, tropical feel to shaded garden areas.
Repot into a larger container if it’s grown too large for its current pot, or prune back the foliage to manage its size.
Fatsia japonica is generally safe, but it’s wise to stop pets and children from nibbling on it. Eating it might lead to a mild tummy upset because of its saponins. If you’re unsure or see any bad reactions, it’s best to chat with a vet or doctor.
Brown leaf tips can indicate low humidity, water stress (either too much or too little), or fertilizer burn. Assess your care routine and make adjustments as needed, such as increasing humidity around the plant or adjusting your watering and feeding schedule.
Absolutely! Fatsia japonica is relatively easy to care for, making it a great choice for beginners looking to add a lush, tropical feel to their home or garden.
I hope this FAQ has shed a bit of light on looking after your Fatsia japonica. If there’s something I’ve not covered, no worries at all! Just pop your question in the comments, and I’ll do my best to help you out. Remember, everyone starts from square one with plants, and there’s always more to learn as you go along with your green pals.

