Dieffenbachia Camilla, also known as Dumb Cane, is a captivating tropical houseplant that has been gaining popularity in indoor gardening. Its lush, variegated leaves and vibrant appearance make it an eye-catching addition to any home. But here’s the burning question – is this alluring plant really worth the potential risk of toxicity?
If you’re ready to uncover the secrets of this widely adored houseplant and decide whether it deserves a place in your collection, let’s dive in!
Appearance of Dieffenbachia Camilla (Dumb Cane)
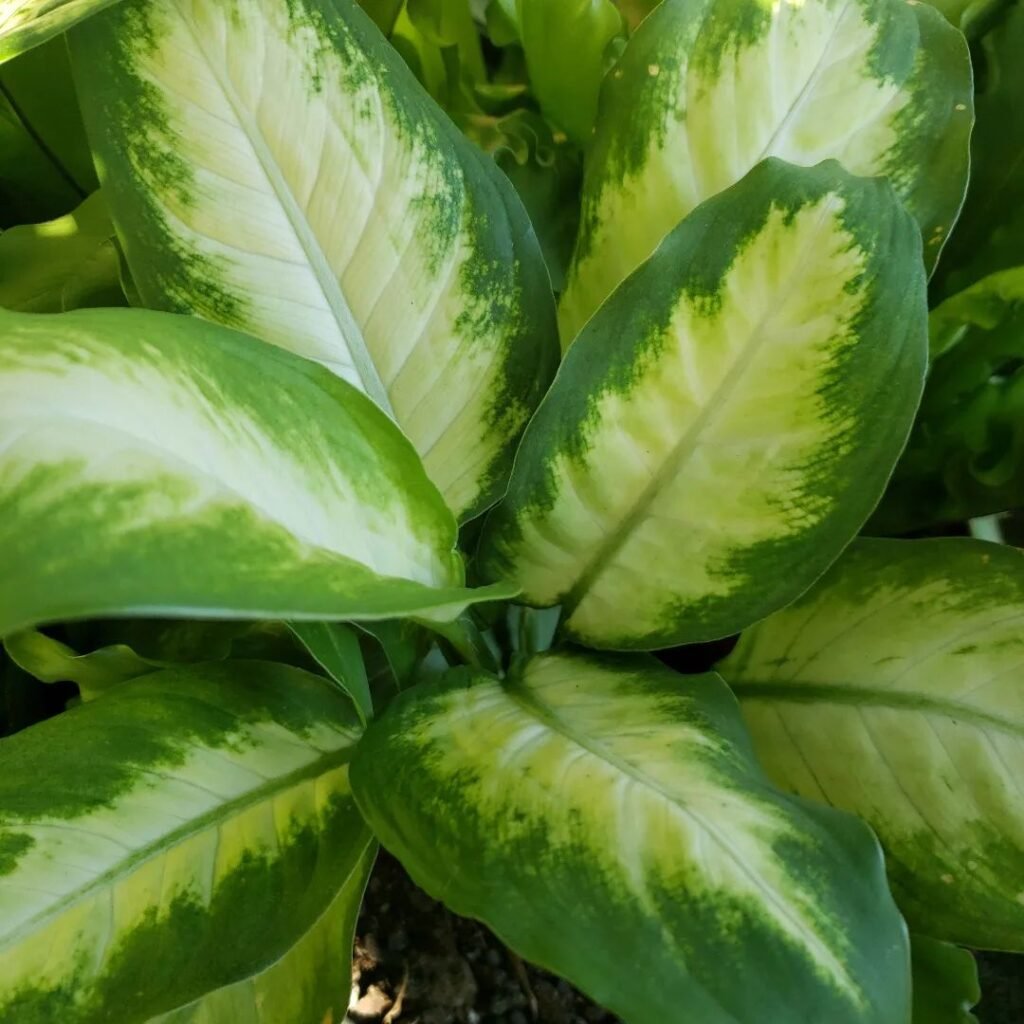
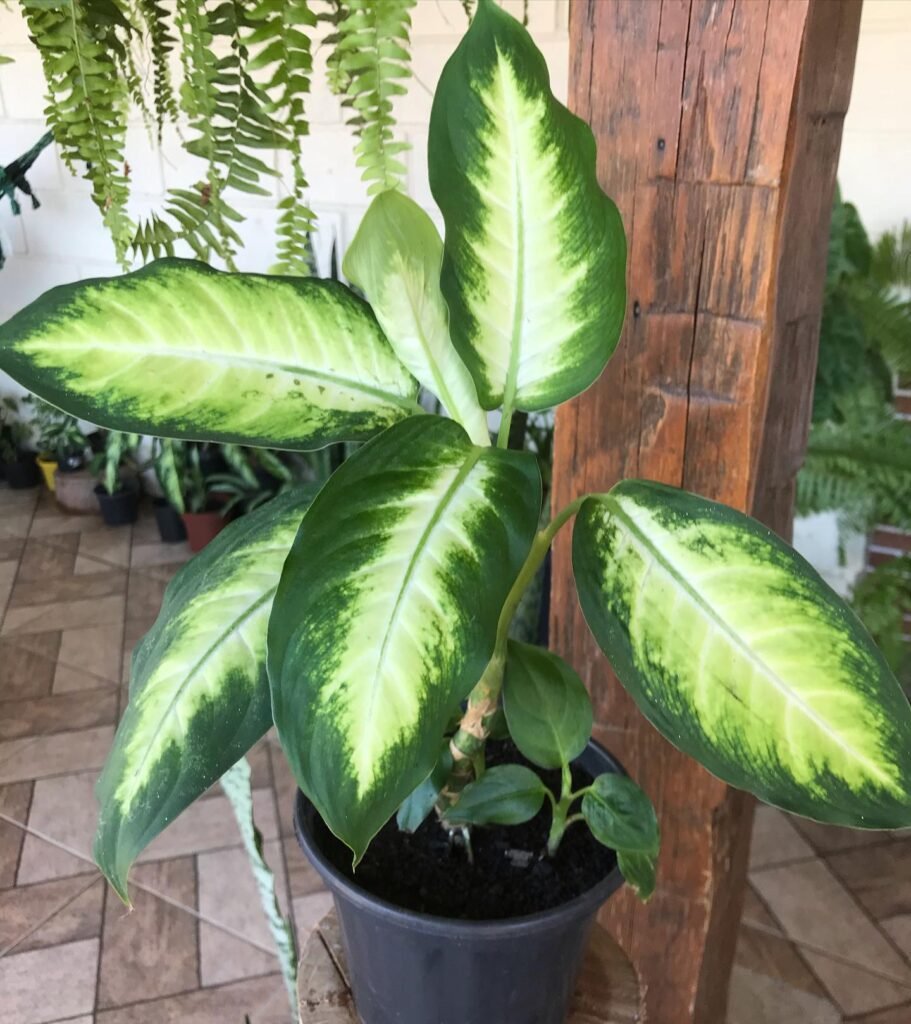
Dieffenbachia Camilla, also known as Dumb Cane, is a tropical houseplant prized for its stunning appearance. This plant features large, oval-shaped leaves that come in a range of beautiful shades of green, interspersed with splashes or flecks of white, cream, yellow, or lime green. The variegated leaves of Dieffenbachia Camilla add visual interest and make it a popular choice among tropical houseplant enthusiasts in the United Kingdom.
Dieffenbachia Camilla is not just limited to one variety. There are multiple houseplant varieties available, each with its own unique leaf color and pattern. This variety in appearance allows you to choose a Dieffenbachia Camilla that suits your personal taste and complements your home decor.
 Did you know that Dieffenbachia Camilla can actually help reduce noise pollution inside your home? Its large, broad leaves are not just for show; they can absorb sound, making your living space quieter and more serene. It’s a natural way to enhance your home’s calmness while adding a touch of greenery.
Light Requirements for Dieffenbachia Camilla
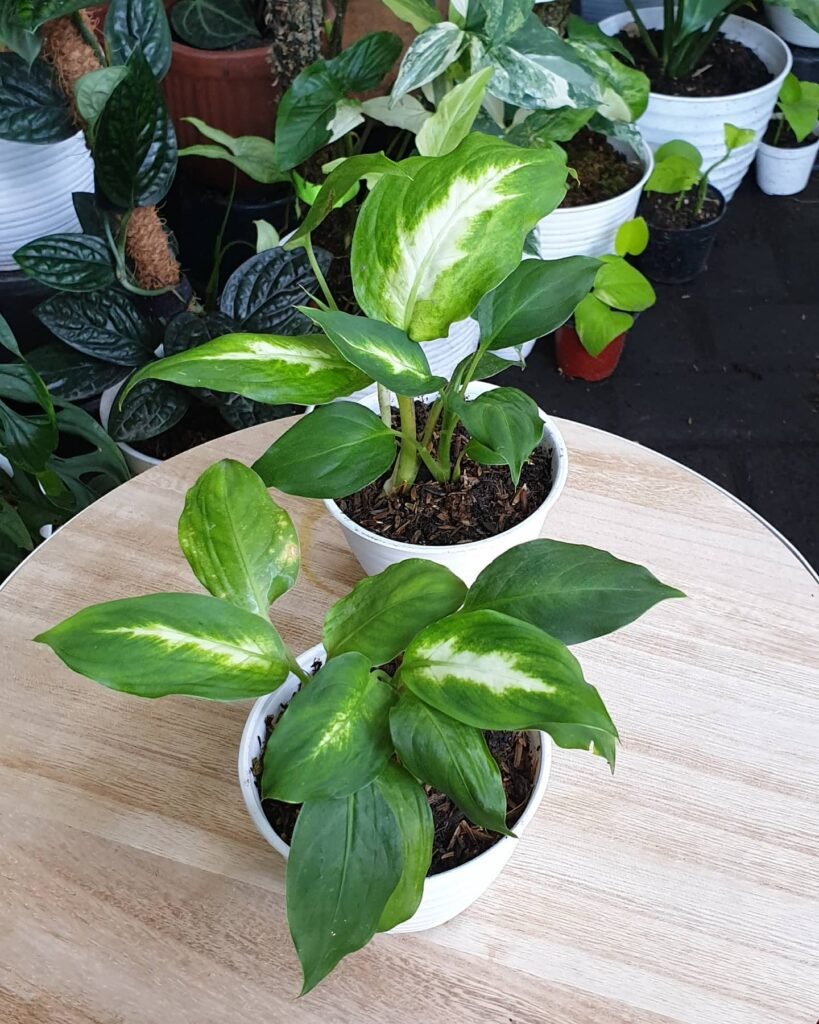
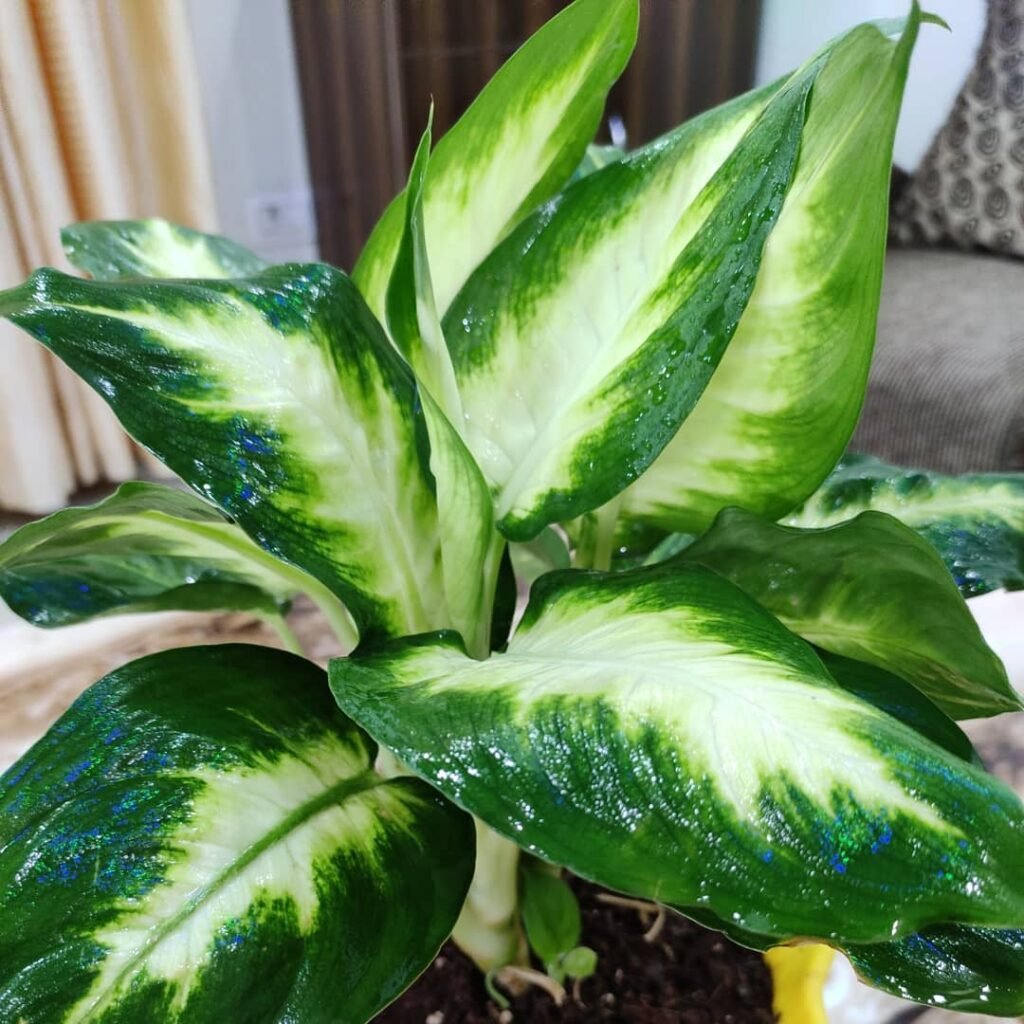
Dieffenbachia Camilla, known as Dumb Cane, requires bright, indirect light to thrive. Placing it in a bright spot near a window with filtered light is ideal. Direct sunlight can scorch the leaves, so it’s important to avoid exposing the plant to direct sun. Too little light can result in leggy growth and a loss of vibrant coloration.
Providing the right amount of light is crucial for the overall health and growth of Dieffenbachia Camilla. This tropical houseplant mimics its native rainforest habitat in Central and South America, where it receives bright, dappled light under the canopy of trees. Indoor plant lighting should replicate this by providing indirect light.
It’s worth noting that Dieffenbachia Camilla can tolerate lower light levels for short periods, but prolonged exposure to low light can result in unhealthy growth. To maintain the plant’s vibrancy, ensure it receives the appropriate amount of light.
Remember, bright, indirect light is key for Dieffenbachia Camilla. Avoid direct sunlight and provide a well-lit spot near a window with filtered light.
When positioning your Dieffenbachia Camilla, consider the direction of light coming through the window. North-facing windows generally provide lower light levels, while east and west-facing windows offer moderate to bright indirect light. South-facing windows tend to have the most intense light and may require additional shading or distance from the window to prevent leaf burn.

Watering Tips for Dieffenbachia Camilla

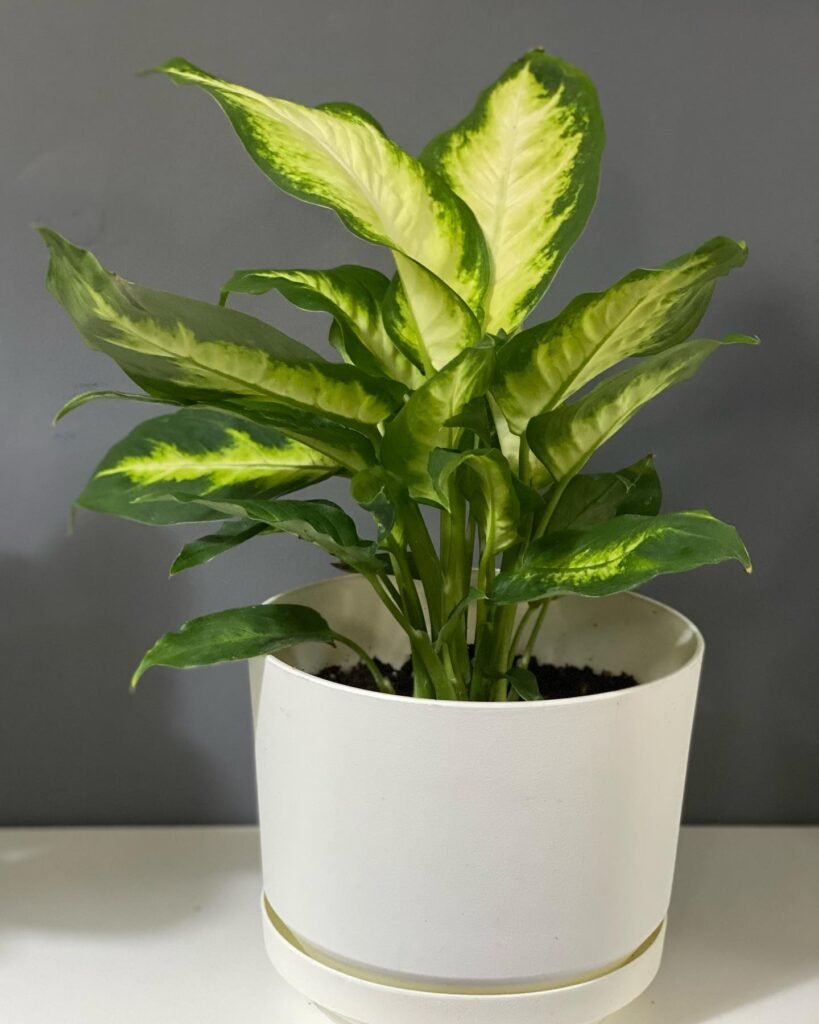
When it comes to keeping my Dieffenbachia Camilla happy and healthy, watering is a crucial aspect of care. Maintaining the right level of soil moisture ensures that the plant thrives without the risk of root rot or dehydration.
I follow these watering tips to keep my Dieffenbachia Camilla in top condition:
- Check the soil: Before watering, I always check the top inch of the soil. If it feels dry to the touch, it’s a sign that the plant is ready for some hydration. However, if the soil feels moist, I hold off on watering to avoid overwatering.
- Avoid waterlogging: Dieffenbachia Camilla doesn’t like sitting in standing water, so I make sure to empty any excess water from the saucer or tray after watering. This prevents the roots from becoming waterlogged and developing root rot.
- Water from the bottom: To ensure thorough hydration, I prefer watering my Dieffenbachia Camilla from the bottom. I pour water into the saucer or tray and let the plant soak up the moisture through its roots. This encourages healthy root growth and prevents water from collecting on the leaves, which can lead to leaf spots or fungal issues.
- Maintain consistency: Consistency is key when it comes to watering frequency. I aim to water my Dieffenbachia Camilla when the top inch of the soil feels dry, which typically ranges from once a week to once every ten days. However, I always consider external factors such as temperature, humidity, and the plant’s size when determining the watering schedule.

Fertilizing and Soil for Dieffenbachia Camilla
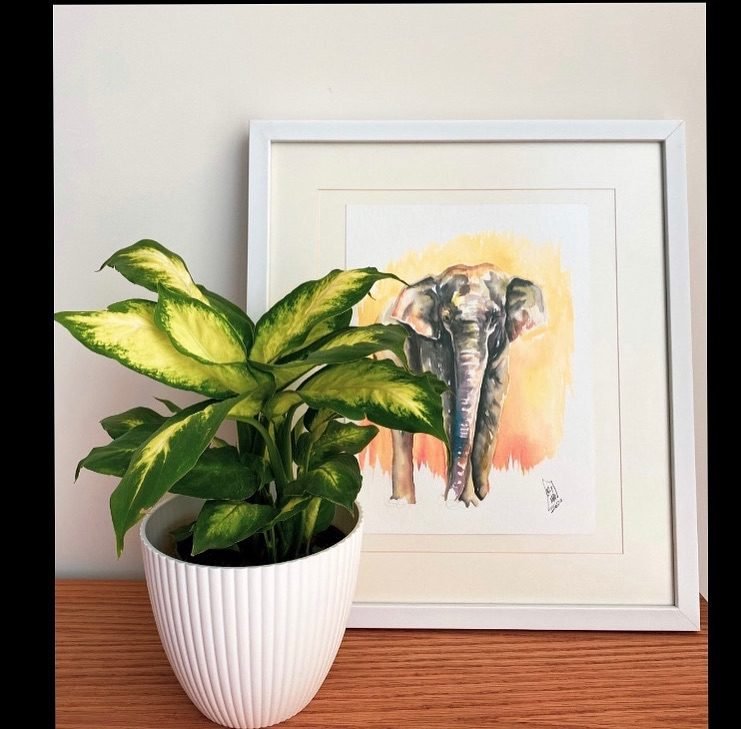

Dieffenbachia Camilla benefits from regular fertilizing during the growing season, which is spring and summer. Use a balanced liquid fertilizer labeled for houseplants and feed the plant every month. Fertilizing provides essential plant nutrition, ensuring healthy growth and vibrant foliage. During the dormant period in winter, reduce or stop fertilizing as the plant’s growth slows down.
When it comes to soil, Dieffenbachia Camilla thrives in well-draining soil. Good drainage is crucial to prevent waterlogging, which can lead to root rot. It is recommended to use a soil mix specifically formulated for houseplants. This type of soil provides the necessary nutrients for plant growth while allowing excess water to drain away. It also helps retain moisture, preventing the soil from drying out too quickly.

Pruning and Maintenance for Dieffenbachia Camilla
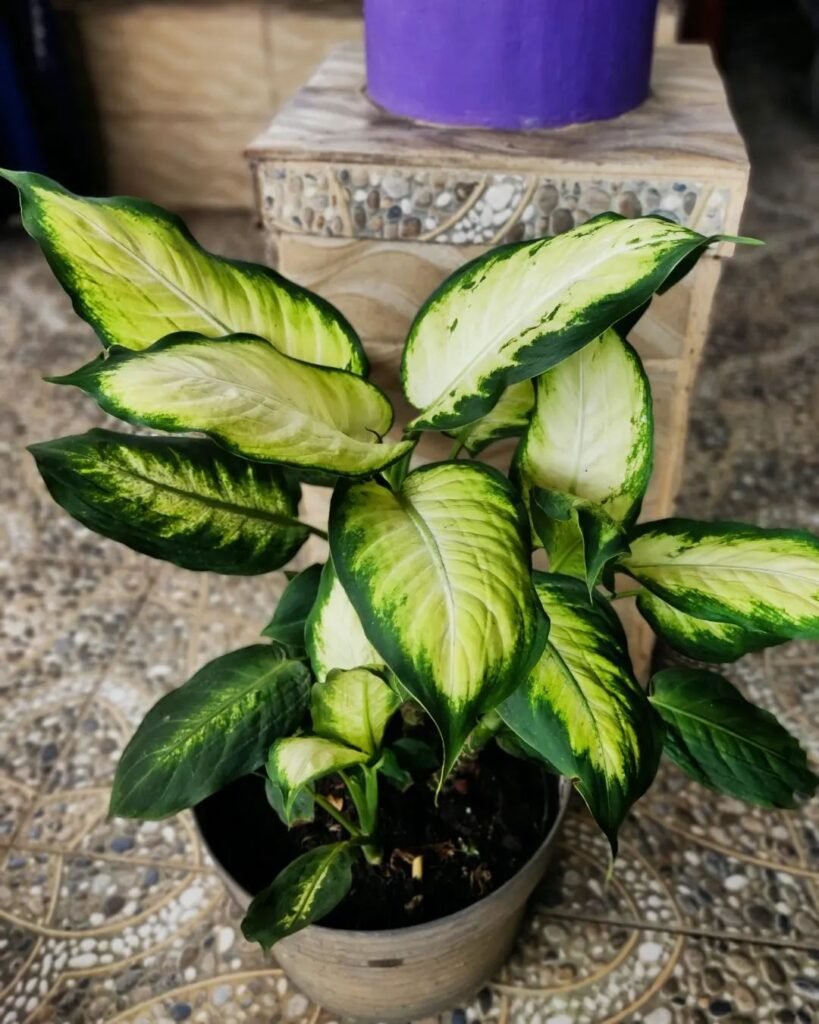

Regular pruning is essential for maintaining the health and appearance of Dieffenbachia Camilla. Trim any yellow or dying leaves to encourage new growth and prevent the spread of diseases. Pruning can also help promote bushier growth and prevent the plant from becoming leggy.
When pruning Dieffenbachia Camilla, it’s important not to remove more than one-third of the plant at a time to avoid stressing it. Start by identifying any yellow or dying leaves, then use clean, sharp pruning shears to make clean cuts just above the base of the leaf stem.
Trimming the yellow leaves of Dieffenbachia Camilla not only improves its aesthetics but also allows the plant to redirect its energy towards healthier growth.
In addition to pruning, it’s important to regularly wipe the leaves of Dieffenbachia Camilla with a damp cloth. Dust and debris can accumulate on the leaves, hindering their ability to photosynthesize and affecting their vibrant color. Gently wipe each leaf, being careful not to damage the plant.
Maintenance Tips for Dieffenbachia Camilla:
- Regularly inspect the plant for any signs of pests or diseases. Treat any issues promptly to prevent them from spreading.
- Monitor the soil moisture levels and water the plant when the top inch of soil feels dry.
- Avoid overwatering, as it can lead to root rot. Ensure proper drainage in the pot.
- Provide appropriate lighting conditions, keeping the plant away from direct sunlight.
- During the growing season, fertilize Dieffenbachia Camilla every month with a balanced liquid fertilizer.

Propagating Dieffenbachia Camilla (Dumb Cane)
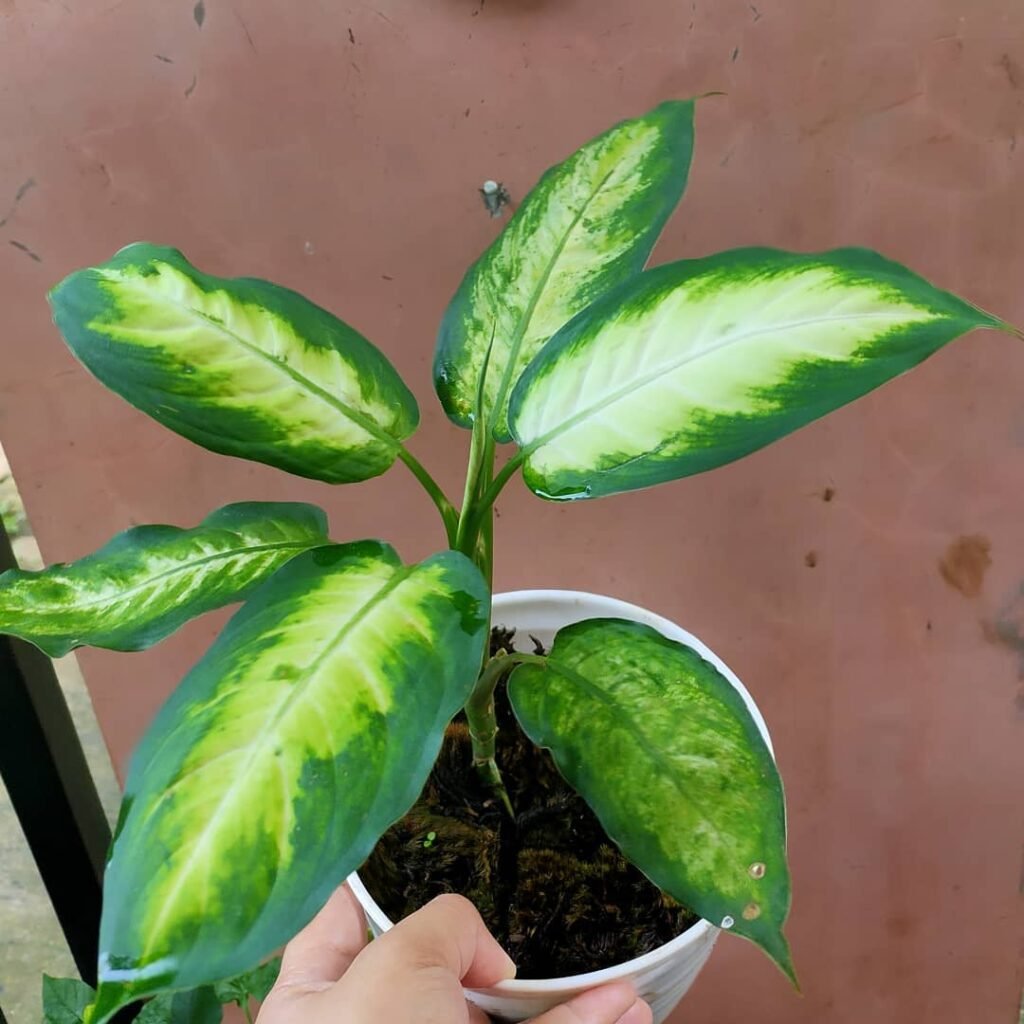
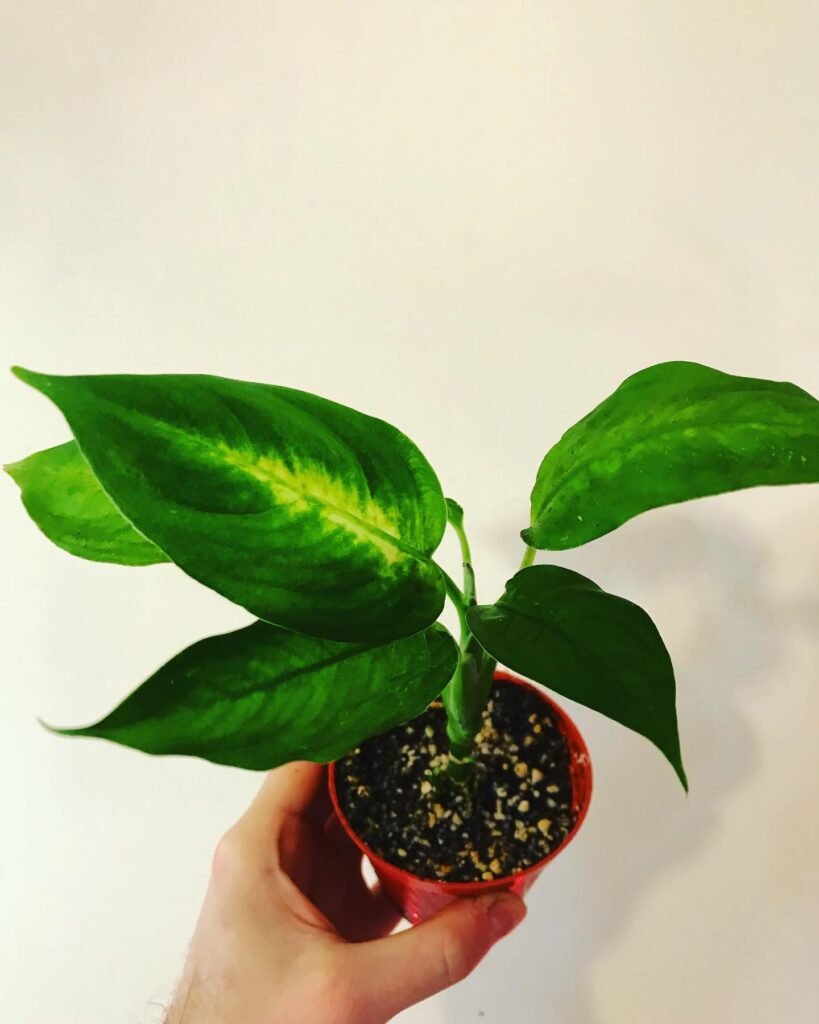
Dieffenbachia Camilla can be propagated through stem cuttings or by dividing the plant. Both methods are effective in producing new Dieffenbachia Camilla plants.
Propagating through Stem Cuttings
To propagate Dieffenbachia Camilla through stem cuttings, begin by selecting a healthy stem. Cut the stem just below a node, making sure to use clean and sharp pruning shears.
- Remove the lower leaves from the cutting, leaving a few leaves at the top.
- Place the cutting in a glass of water or a well-draining potting mix.
- Keep the soil or water moist to promote root development. Avoid overwatering, as it can lead to rotting.
- After a few weeks, roots should start to develop. Once the roots are well-established, the cutting can be transferred to a larger pot or directly into the ground.
Dividing the Plant
Another propagation method for Dieffenbachia Camilla is by dividing the plant. This is best done during the plant’s active growing season, which is typically spring or early summer.
- Carefully remove the plant from its pot, taking care not to damage the roots.
- Gently separate the rooted sections into individual plants.
- Plant each section in its own pot, using a well-draining potting mix.
- Water the newly divided plants thoroughly and place them in a location with bright, indirect light.
Both stem cuttings and division can be successful ways to propagate Dieffenbachia Camilla. With proper care and attention, you can enjoy a thriving collection of these beautiful tropical plants.

Repotting Tips for Dieffenbachia Camilla
Dieffenbachia Camilla, like any other houseplant, benefits from periodic repotting to ensure its continued growth and health. Repotting should be done every two to three years to refresh the soil and provide adequate space for the plant’s roots to spread.
When repotting Dieffenbachia Camilla, it is important to choose a pot that is one size larger than its current container. This will give the plant room to grow without overwhelming its root system. Additionally, the new pot should have adequate drainage holes to prevent waterlogging, which can lead to root rot.
To repot Dieffenbachia Camilla, follow these simple steps:
- Carefully remove the plant from its current pot, gently loosening the roots.
- Inspect the roots for any signs of overcrowding or rootbound conditions – when the roots have filled the pot completely.
- Place the plant in the new pot, ensuring that it sits at the same level as it did in the previous pot.
- Fill the remaining space in the pot with fresh, well-draining potting soil. Spread the soil evenly around the roots, avoiding any air pockets.
- Press the soil gently to secure the plant in its new home.
- Water the newly repotted Dieffenbachia Camilla thoroughly to settle the soil and provide hydration to the root system.
 Did you know Dieffenbachia Camilla (Dumb Cane) isn’t just eye-catching? It’s named ‘Dumb Cane‘ because its sap can temporarily silence your voice if ingested, due to its numbing effect. It’s a natural wonder that also purifies the air, making it a stunning yet practical addition to any room.
Helpful Videos about Growing Dieffenbachia Camilla
Thinking about starting with Dieffenbachia Camilla (Dumb Cane)? I’ve pulled together some cracking videos for you. They’re packed with easy-to-follow guidance to ensure your plant thrives, covering everything from the essentials to a few clever tricks. Ideal for seasoned gardeners as well as those new to the gardening world, these tutorials aim to make Dieffenbachia Camilla care both simple and enjoyable.
- Dieffenbachia Camille Soil and Water Propagation by Stem Cuttings
- Dieffenbachia Plant Care Guide | Dumb Cane Care
Frequently Asked Questions about Dieffenbachia Camilla (Dumb Cane)

Fancy making your Dieffenbachia Camilla (Dumb Cane) the star of your indoor garden? Check out my handy FAQ for all the tips and tricks you need to care for your Dieffenbachia Camilla. I’m covering everything from perfect lighting to the right watering technique, ensuring your plant not only survives but thrives.
Water when the top inch of soil feels dry. Usually, this means once a week, but less often in winter.
It prefers bright, indirect light. Avoid direct sunlight, which can scorch the leaves.
Yes, it’s toxic if ingested, so keep it away from pets and children.
Signs include yellowing leaves and a soggy base. Let the soil dry out a bit more between waterings.
In the UK, it’s best grown indoors due to its preference for warm, humid conditions.
Yellow leaves can be due to overwatering, poor drainage, or too much direct sunlight.
Place it on a pebble tray with water or use a humidifier.
Repot in spring every 2-3 years, using a pot one size larger with drainage holes.
Use a well-draining, peat-based potting mix.
Yes, prune to remove dead leaves or to control its size. Always use gloves, as the sap can irritate skin.
Legginess is often a sign of too little light. Move it to a brighter spot, but avoid direct sun.
Propagate by stem cuttings placed in water or directly into potting mix.
Brown tips can be caused by low humidity or over-fertilisation. Try to increase air moisture around the plant.
Fertilise lightly every month during the growing season (spring to summer) with a balanced liquid fertiliser.
Keep an eye out for common pests like spider mites, mealybugs, and aphids. Wipe leaves with a damp cloth regularly to prevent infestations.
Drooping leaves can indicate under-watering. Check the soil moisture; if it’s dry, give your plant a thorough watering.
Wipe the leaves gently with a damp cloth to remove dust. This helps the plant photosynthesise more efficiently.
I hope this has sorted how to care for your Dieffenbachia Camilla (Dumb Cane). Any further queries? Chuck them in the comments, and I’ll be sure to answer. Remember, we all kick off at the beginning, and learning about your Dieffenbachia is a fantastic journey.

