What is Gotu Kola?
Hello, fellow green thumbs! Today, I’m thrilled to walk you through the delightful process of growing Gotu Kola, a herb that’s as beneficial as it is beautiful. If you’re curious about its myriad benefits, do check out our in-depth piece, “What is Gotu Kola: Guide to Benefits, Uses, and Helpful Hints”. Now, let’s dig into the joys of cultivating this marvelous plant right in your garden.


Meet Gotu Kola
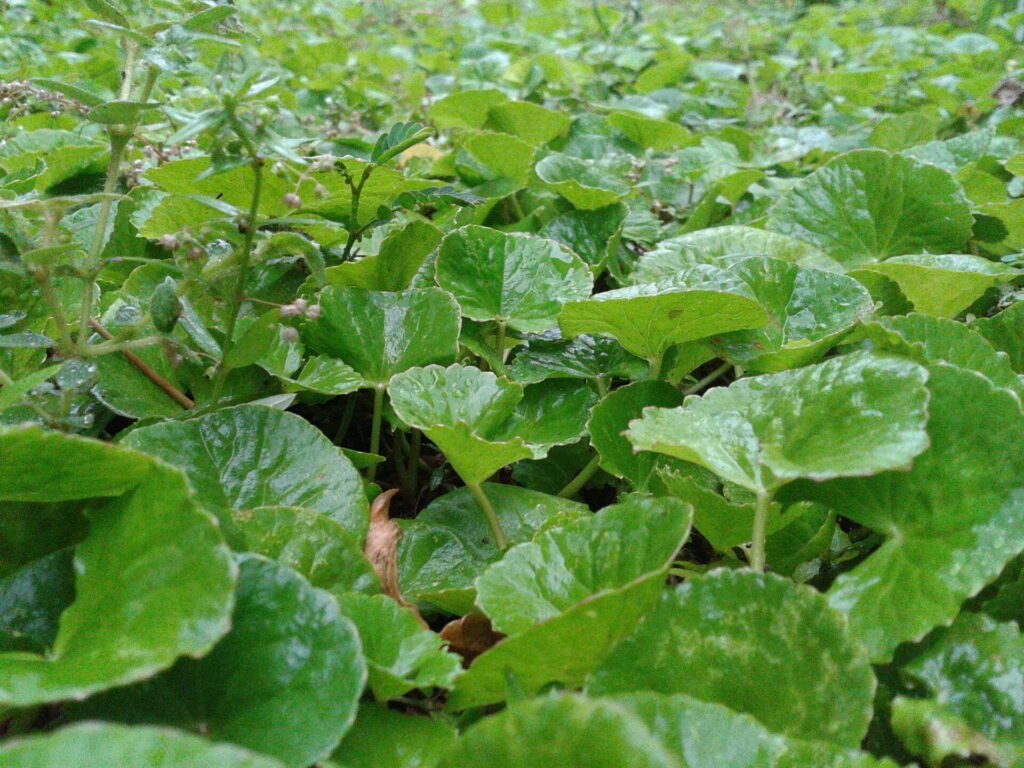
Gotu Kola, known scientifically as Centella Asiatica, is more than just a plant in my garden – it’s a living tapestry of history and healing. This perennial herb, with its distinctive fan-shaped green leaves, is a native of the lush, damp regions of Asia. It has been revered in the realms of Ayurvedic and Chinese medicine for centuries, celebrated for its remarkable medicinal properties. Beyond its health benefits, Gotu Kola captivates with its understated beauty. The way its leaves elegantly spread and blend with other garden flora adds an enchanting, serene quality to my little green haven. Each glance at these vibrant patches is a reminder of the herb’s rich cultural heritage and the subtle elegance it brings to any garden.

Choosing the Right Environment for Gotu Kola
For beginners looking to grow Gotu Kola, understanding its environmental needs is key. Here’s a simplified table that outlines the essential conditions for your Gotu Kola to flourish:
| Condition | Ideal Setting |
|---|---|
| Light | Prefers indirect, soft sunlight. Avoid direct, harsh sun. |
| Temperature | Thrives between 20°C to 30°C. Warm, stable temperatures are key. |
| Humidity | Loves high humidity. Regular misting can help in drier areas. |
This table is your quick guide to creating the right environment for your Gotu Kola. Remember, it’s all about finding that balance – not too hot, not too cold, and with the right amount of light and moisture. With these straightforward tips, even those new to gardening can successfully grow and nurture Gotu Kola.
Soil Preparation and Planting
When it comes to Gotu Kola, getting the soil and planting just right can make a world of difference, especially for those new to the gardening scene. Here’s a breakdown to make it simple:
Soil Preparation
- What You Need: Go for rich, well-draining soil. This is like picking a comfortable, nutritious bed for your plant.
- pH Levels: Aim for a sweet spot between 6.0 and 7.0. If you’re not sure about your soil’s pH, a simple testing kit from your local garden store can help.
- Making It Just Right: If your soil feels heavy or clay-like, mix in some organic compost or peat moss to lighten it up. This ensures good drainage and aeration, which Gotu Kola loves.
Planting Your Gotu Kola
- Starting Off: You can begin with seeds or cuttings. Both work well, but I often find cuttings a bit easier to start with.
- For Seed Lovers: Plant your seeds shallowly. They need a bit of light to kickstart their germination, so don’t bury them too deep. Just a light cover of soil will do.
- Moisture is Key: Whether you choose seeds or cuttings, keeping the soil consistently moist is crucial. Think of it like a sponge – damp but not dripping wet.
Some Extra Tips for Beginners
- Location, Location, Location: Find a spot that fits our earlier light and temperature guidelines.
- Patience is a Virtue: Germination can take a bit of time, so don’t worry if you don’t see sprouts immediately.
- Gentle Care: Water your newly planted Gotu Kola gently. A soft shower from a watering can is perfect to avoid disturbing the seeds or cuttings.
Remember, gardening is all about learning and growing along with your plants. Don’t stress the small stuff, and enjoy the process of bringing new life to your garden with Gotu Kola!

How To Grow Gotu Kola
In the journey of cultivating Gotu Kola, understanding each phase of its growth is crucial. Let’s dive into the essential steps to grow Gotu Kola effectively, ensuring the information flows seamlessly with the rest of the article:
Planting and Initial Care
- Seeds or Cuttings: Whether you’re starting with seeds or cuttings, the initial care is similar. Ensure they are planted in a well-prepared soil mix, slightly acidic to neutral in pH.
- Early Growth: Once planted, the focus is on establishing the plant. This involves regular watering to keep the soil moist and ensuring the plant is not exposed to harsh sunlight.
Progressing from Seedlings/Cuttings to Mature Plants
- Development Phase: As your Gotu Kola begins to grow, monitor its development. Adjust watering based on weather conditions and soil moisture levels.
- Space Management: As the plant matures, ensure it has enough space to spread. If you started in a pot, be ready to transplant it to a larger pot or the garden when it outgrows its initial space.

Keeping Your Gotu Kola Happy and Healthy
Once your Gotu Kola is comfortably nestled in its new environment, the next crucial steps are proper feeding and watering. These are the keys to a thriving plant. Here’s a more detailed guide for beginners to ensure your plant gets the right care:
Feeding Your Gotu Kola
- What to Use: A balanced, organic fertilizer is ideal. It’s like a healthful, nutritious meal for your plant.
- How Often: A monthly feeding routine during the growing season keeps your Gotu Kola in top shape.
- Application Tip: Follow the instructions on the fertilizer’s package, but as a general rule, less is more. Overfeeding can lead to problems.
Watering Your Gotu Kola
- When to Water: Regular checks are key. Water when the top inch of the soil feels dry to the touch.
- How to Water: Gently water at the base of the plant. Avoid overwatering which can lead to root rot.
| Activity | Frequency |
|---|---|
| Watering | Check soil every few days, water when top inch is dry |
| Feeding | Monthly with balanced, organic fertilizer |
This table acts as a quick reference for you. By sticking to this simple schedule, you’ll ensure your Gotu Kola receives the consistent care it needs.
Extra Tips for First-Time Gardeners:
- Observe Your Plant: Changes in leaf color or texture can indicate over or under-watering or feeding.
- Consistency is Key: Regularity in care is more effective than sporadic, intense efforts.
Remember, taking care of Gotu Kola is a learning process. With each passing day, you’ll get better at understanding and catering to its needs. Happy gardening!

Dealing with Pests and Problems
While Gotu Kola is known for its resilience, like all plants, it can sometimes face issues with pests and diseases. Here’s a detailed guide for new gardeners on identifying and dealing with these challenges:
Slugs and Snails
- Signs: Keep an eye out for visible trails and nibbled leaves.
- Solution: One effective, natural method is to surround your plants with crushed eggshells. These create a barrier that these critters don’t like to cross.
Fungal Infections
- Signs: Yellowing leaves and mold growth are common indicators.
- Solution: Improving air circulation around your plants is key. Also, try to avoid wetting the foliage when watering, as this can exacerbate fungal issues.
| Issue | Signs | Solution |
|---|---|---|
| Slugs and Snails | Visible trails, nibbled leaves | Use natural deterrents like crushed eggshells |
| Fungal Infections | Yellowing leaves, mold growth | Improve air circulation, avoid wetting foliage |
This table should help you quickly diagnose and address common issues with your Gotu Kola. Remember, the best defense is often a good offense: regular care and observation can prevent many of these problems before they start.
Harvesting and Storing Gotu Kola
Harvesting your Gotu Kola is an exciting and rewarding step in your gardening journey. Here’s a more detailed guide for beginners on how to effectively harvest and store this wonderful herb:
When to Harvest Gotu Kola
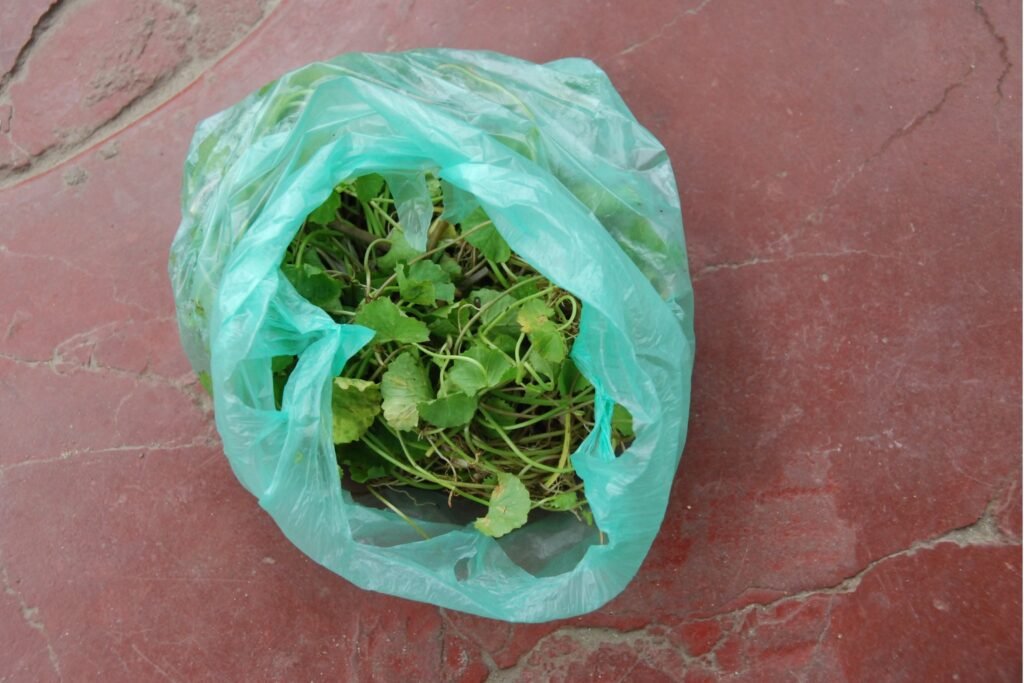
- Optimal Time: Early morning is the golden hour for harvesting. The leaves are at their freshest, and the essential oils are at their peak.
- Harvesting Technique: Gently pluck the leaves and tender stems. If you’re using scissors, ensure they’re clean to prevent disease transmission.
- Regular Harvests: Frequent harvesting encourages the plant to grow more, so don’t hesitate to pick those leaves.
Storing Your Harvest
- Method for Drying: Spread the leaves out in a cool, airy space, away from direct sunlight. This helps preserve their natural properties.
- Dryness Check: The leaves are fully dry when they easily crumble in your hand.
- Storage Tips: Keep the dried leaves in an airtight container, stored in a cool, dark place. They’ll stay good for several months.
Helpful Tips for Easy Harvesting and Storing:
- Aim to harvest in the morning for peak freshness and oil concentration.
- Don’t be timid about regular harvesting – it’s beneficial for the plant.
- Ensure a proper drying environment – cool and shaded is the way to go.
- Store the dried leaves correctly to maintain their quality over time.
Harvesting and storing Gotu Kola is not just about the end product; it’s about the experience and joy of using herbs you’ve nurtured with your own hands. So, enjoy this gratifying part of your gardening adventure!

Helpful Videos for Growing Gotu Kola
As we continue our journey in growing Gotu Kola, having the right resources can be immensely helpful. Here are some selected video recommendations that offer both in-depth information and visual guidance:
- Gotu Kola Superfood Benefits + How To Grow
Frequently Asked Questions about How To Grow Gotu Kola

Embarking on your journey with Gotu Kola can bring up a lot of questions, especially if you’re new to gardening. Here’s a detailed FAQ section to help you navigate through the process:
Begin with seeds or cuttings. Plant them in well-draining soil, ensuring the top inch of soil is consistently moist. Choose a location that offers indirect sunlight and maintain a temperature between 20°C to 30°C.
Gotu Kola prefers rich, loamy soil with good drainage. Aim for a soil pH between 6.0 and 7.0. You can mix in organic compost to enrich the soil.
Water when the top inch of soil feels dry. The frequency will depend on your climate and the plant’s environment but aim for consistent soil moisture without overwatering.
Gotu Kola thrives in partial shade or filtered sunlight. Avoid placing it in direct, harsh sunlight, as it can scorch the leaves.
The best time for harvesting is in the morning when the essential oils in the leaves are most concentrated. Frequent harvesting encourages growth.
Natural deterrents like crushed eggshells can keep slugs and snails at bay. Ensure good air circulation and avoid overwatering to prevent fungal infections.
Yes, Gotu Kola can be grown indoors. Ensure it gets enough indirect light and maintain the soil moisture and room humidity.
Feed your Gotu Kola with a balanced, organic fertilizer once a month during the growing season. Avoid over-fertilizing to prevent leaf burn.
Gotu Kola is sensitive to frost. In cold climates, it’s best to grow it in pots and bring it indoors during winter.
Signs of overwatering include yellowing leaves and a lack of growth. Make sure your pot has good drainage and adjust your watering schedule accordingly.
Gotu Kola seeds typically take 2-6 weeks to germinate. Keep the soil consistently moist and provide adequate warmth to speed up the process.
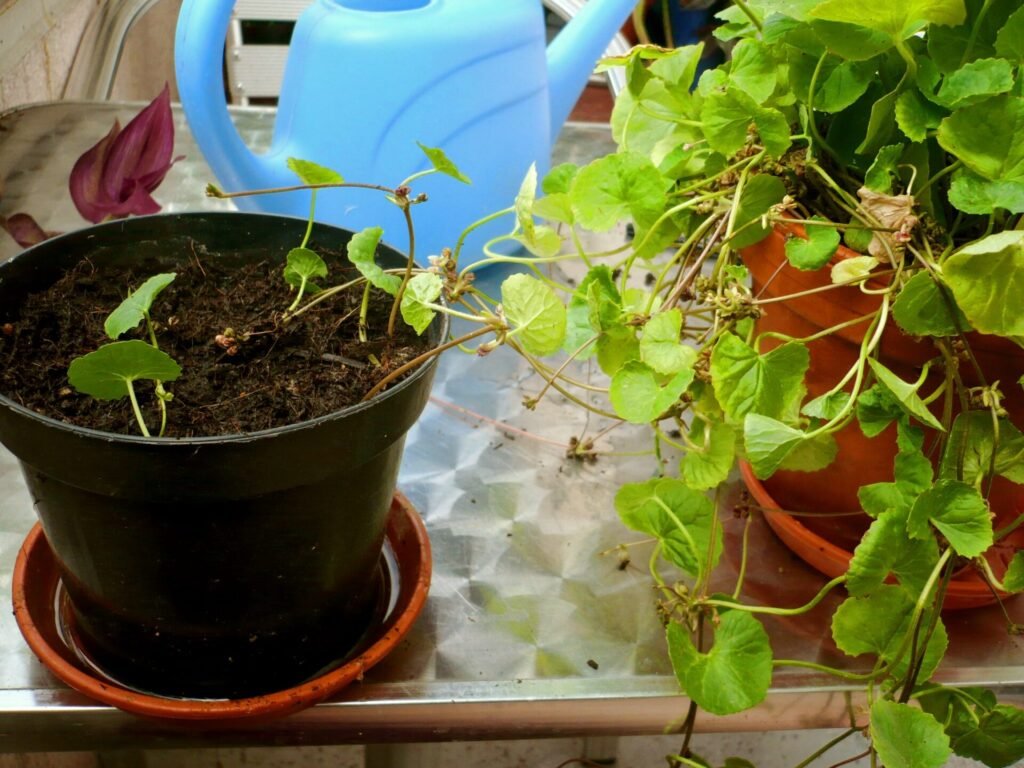
Yes, Gotu Kola grows well in containers. Ensure the pot has enough room for growth and adequate drainage holes to prevent waterlogging.
Gotu Kola is a low-growing plant, usually reaching up to 6 inches in height, but it can spread quite wide, up to 24 inches, if given enough space.
I hope these FAQs have shed light on the most common queries about growing Gotu Kola, especially for those just starting out in the world of gardening. Remember, each plant has its own unique needs and responses, so don’t hesitate to adapt your care routine as you learn more about your Gotu Kola.
If you have any more questions or specific concerns about how to grow Gotu Kola, please feel free to drop them in the comments section below. I’m always here to help and love hearing from fellow gardening enthusiasts. Your queries not only help you but also enrich our gardening community with shared knowledge and experiences. Happy gardening!


One Response
I’m always excited to see what you come up with next. Keep it coming! ❤️