

Did you know that Anthurium clarinervium, also known as Velvet Cardboard Anthurium, is a popular houseplant in the UK? Its stunning heart-shaped leaves with striking white patterns make it a favorite among plant enthusiasts. If you’re lucky enough to have this beauty in your home, I’m here to share some essential care tips to help you keep your Anthurium clarinervium thriving. From lighting and watering to fertilizing and pruning, I’ll guide you through all the necessary steps to ensure your plant’s health and beauty. Let’s dive in!
Appearance of Anthurium Clarinervium
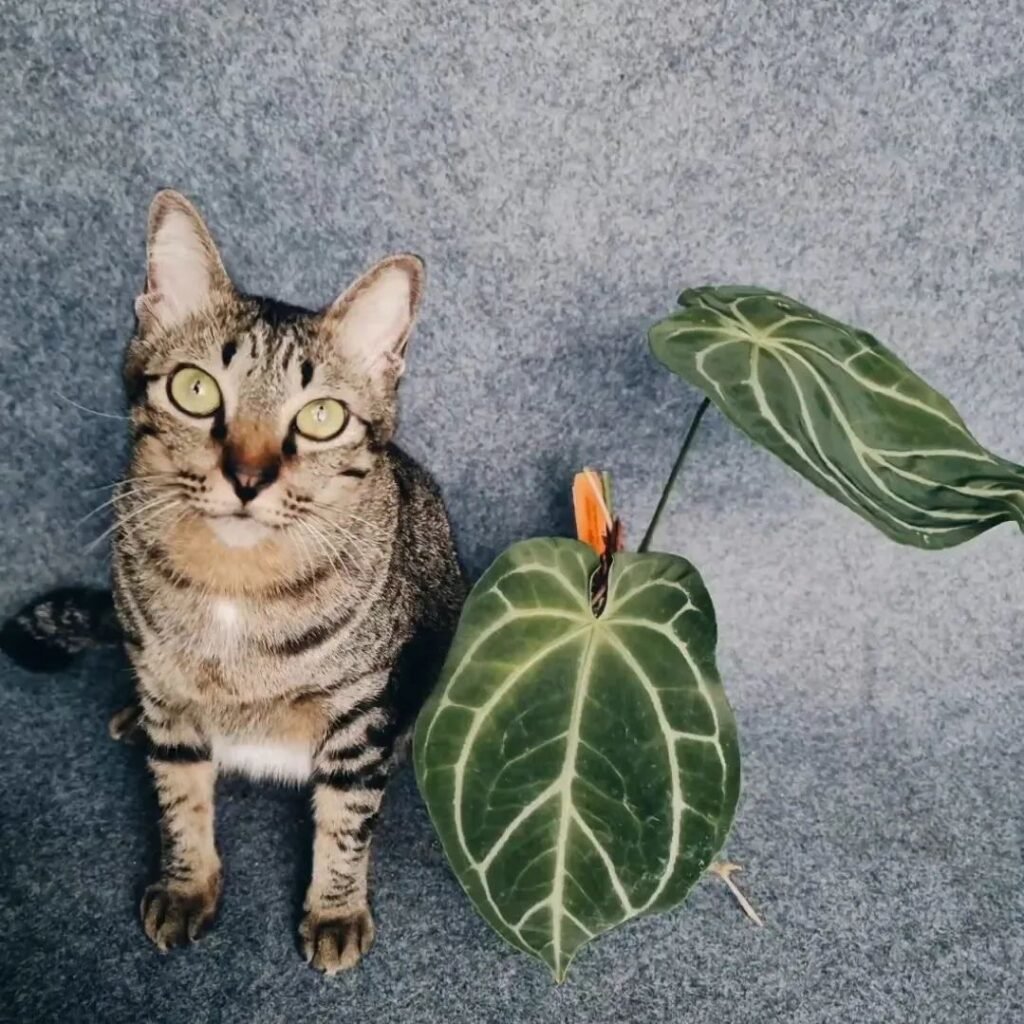
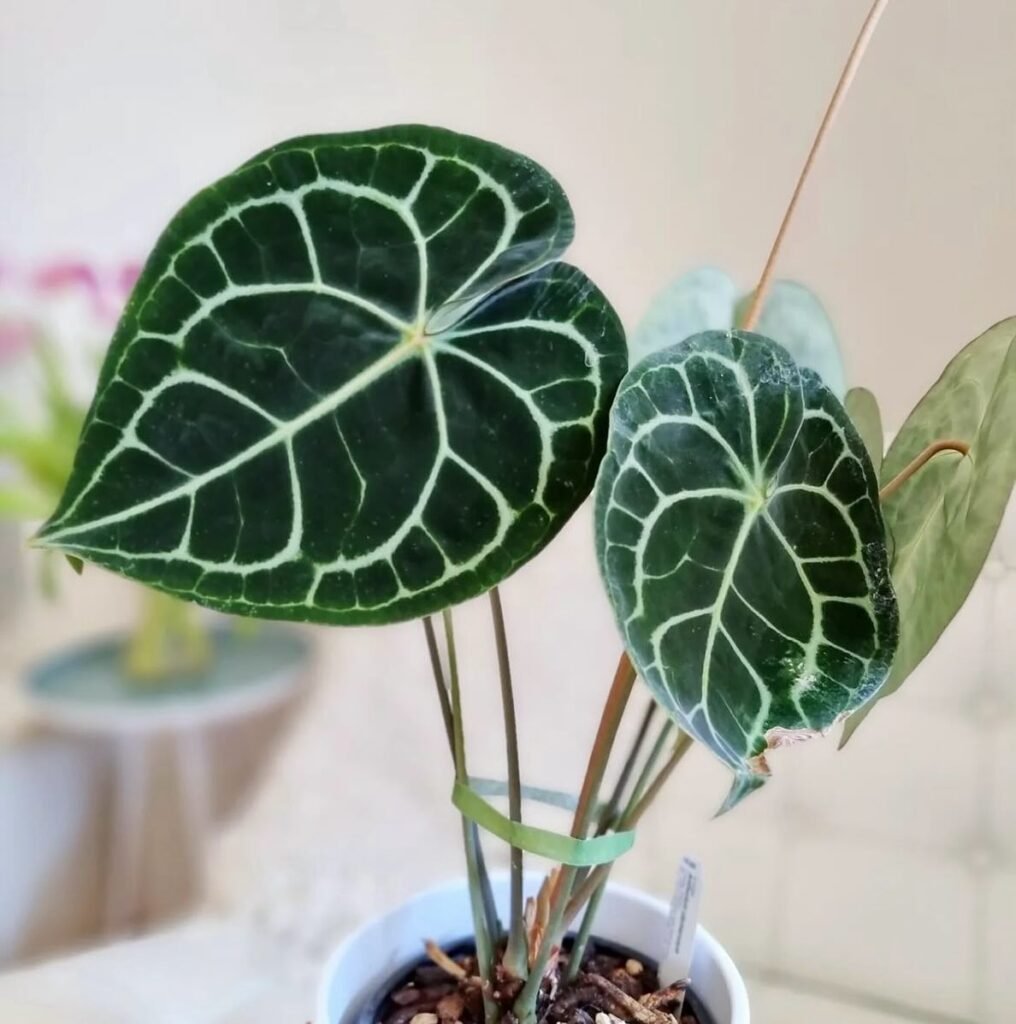
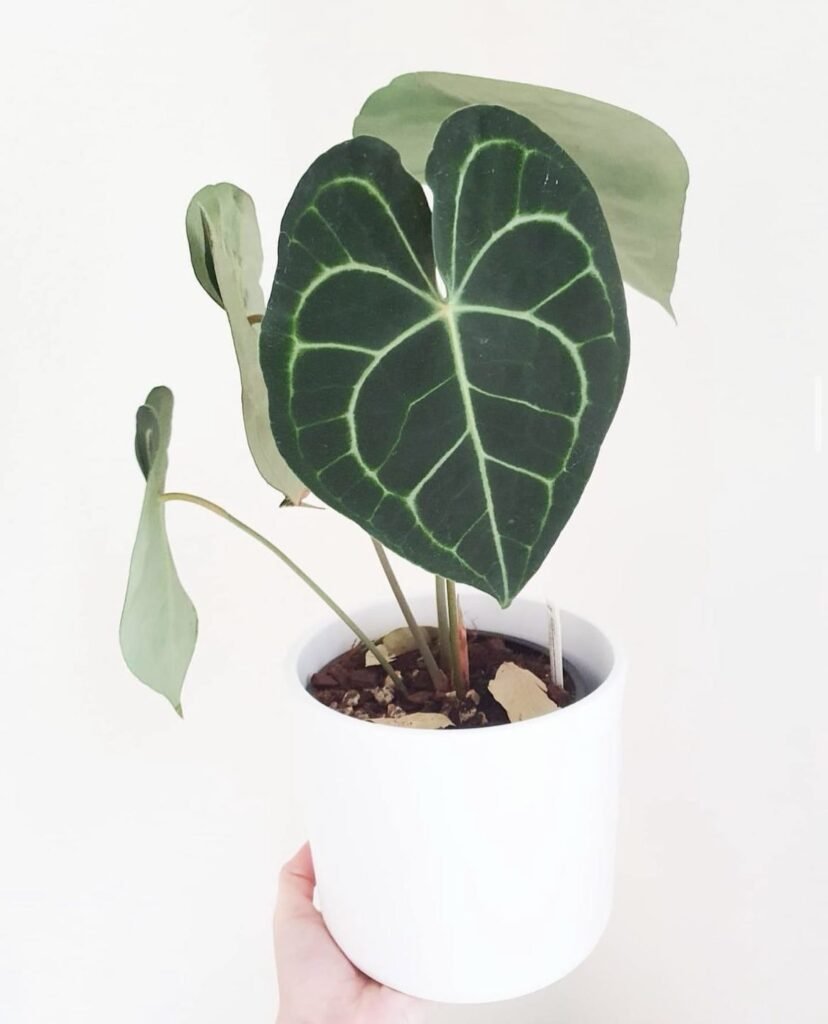
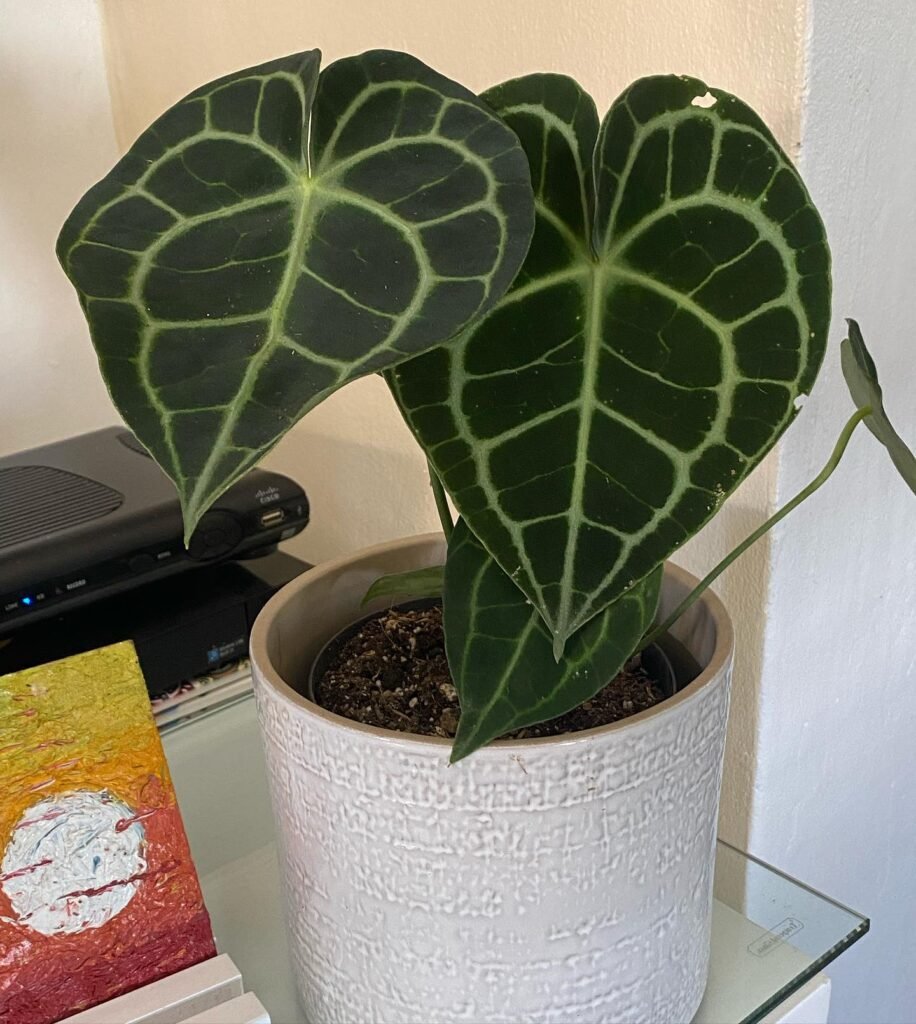
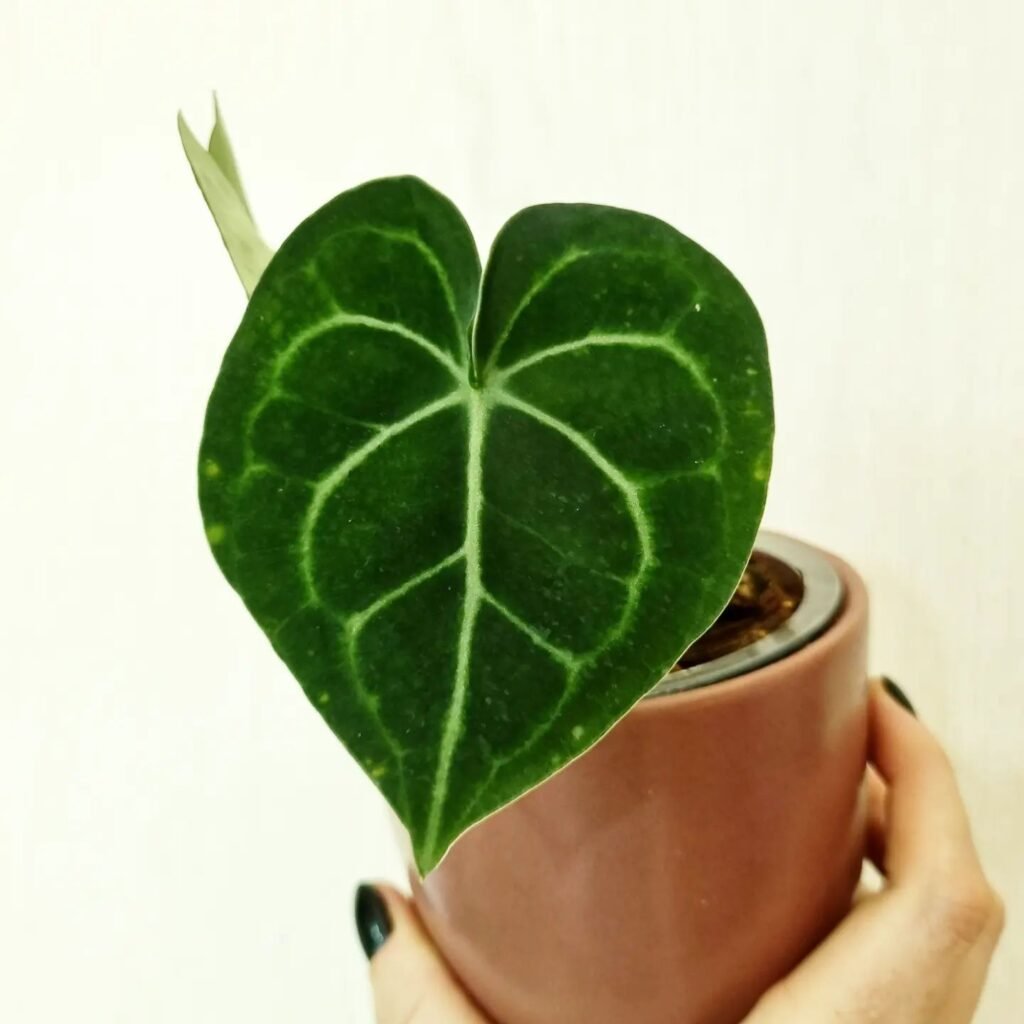
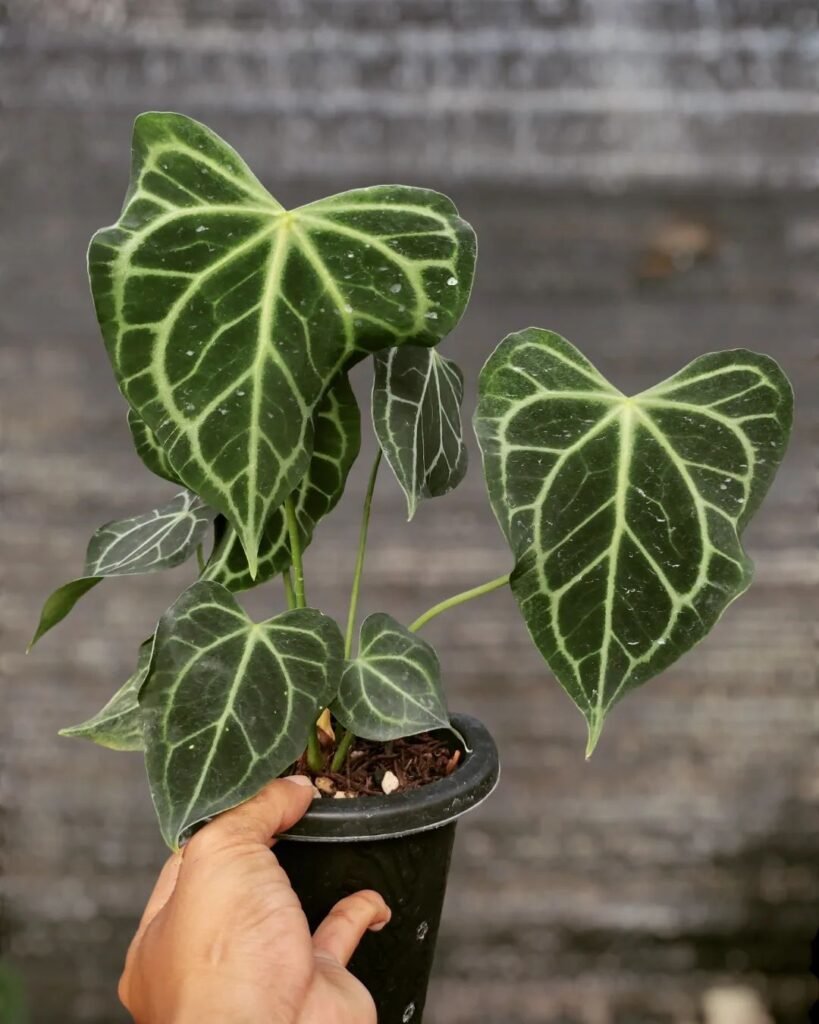
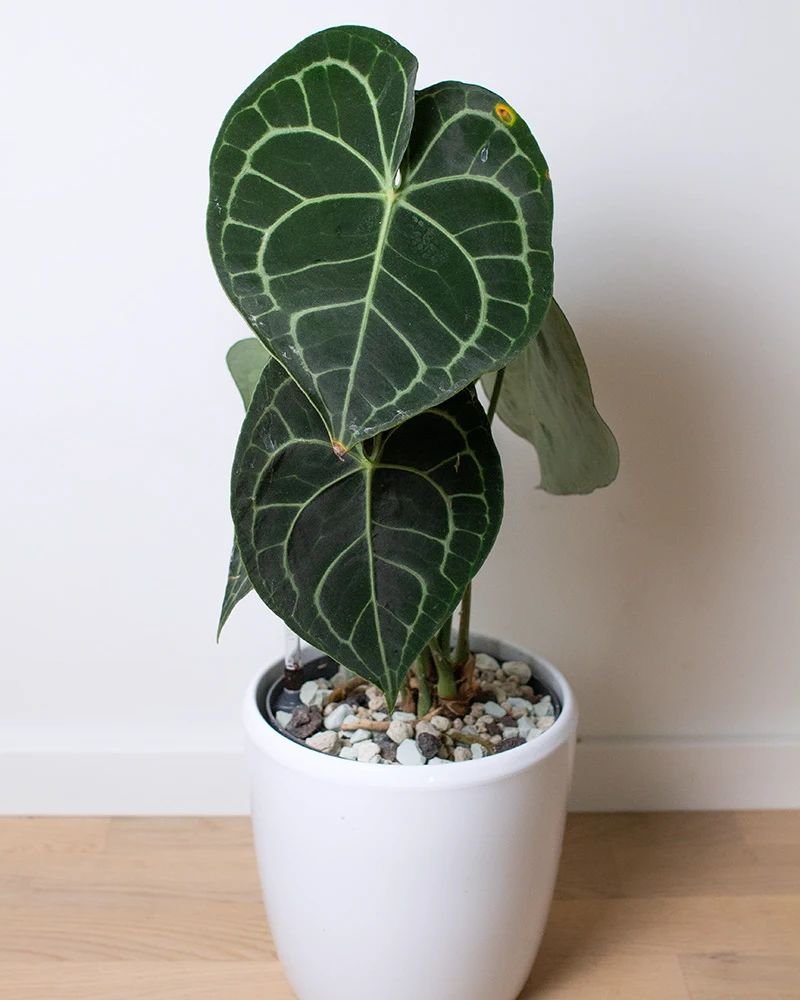
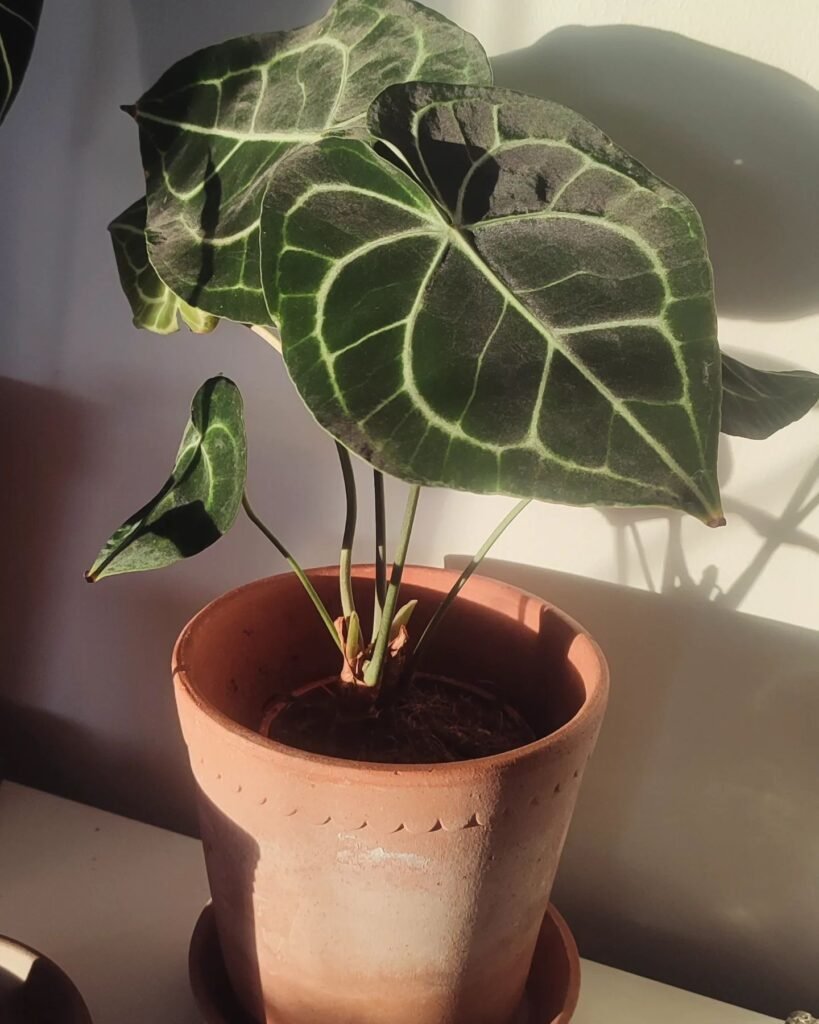
The Anthurium clarinervium stands out as a truly eye-catching plant, thanks to its lush, dark green leaves that boast a velvety texture and are shaped like hearts. This magnificent variety of the giant laceleaf is adorned with exquisite white veining, reminiscent of finely crafted lace, which only adds to its allure. Its remarkable and distinct appearance has earned it the nickname ‘velvet cardboard anthurium‘.
The deep green and soft, velvety surface of its leaves present a striking contrast with the intricate white veining, imbuing the plant with a sense of luxury and elegance. These lace-like patterns contribute an element of delicacy and sophistication, ensuring that the Anthurium clarinervium is a dazzling feature in any indoor setting.
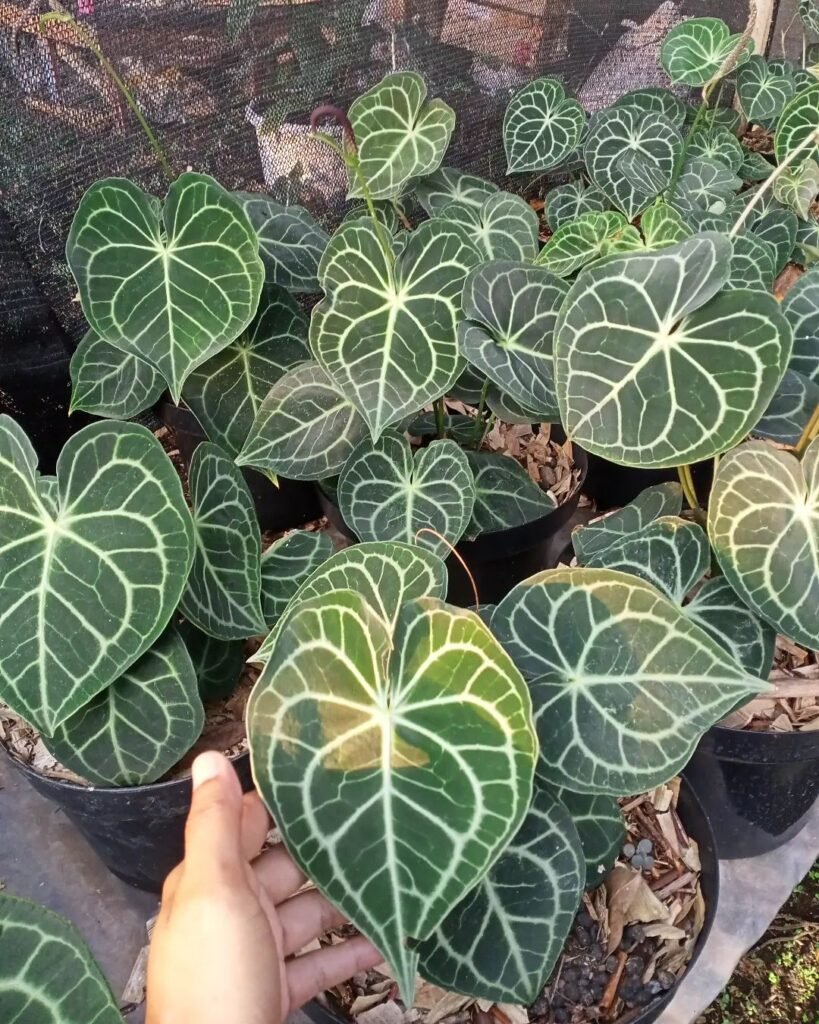
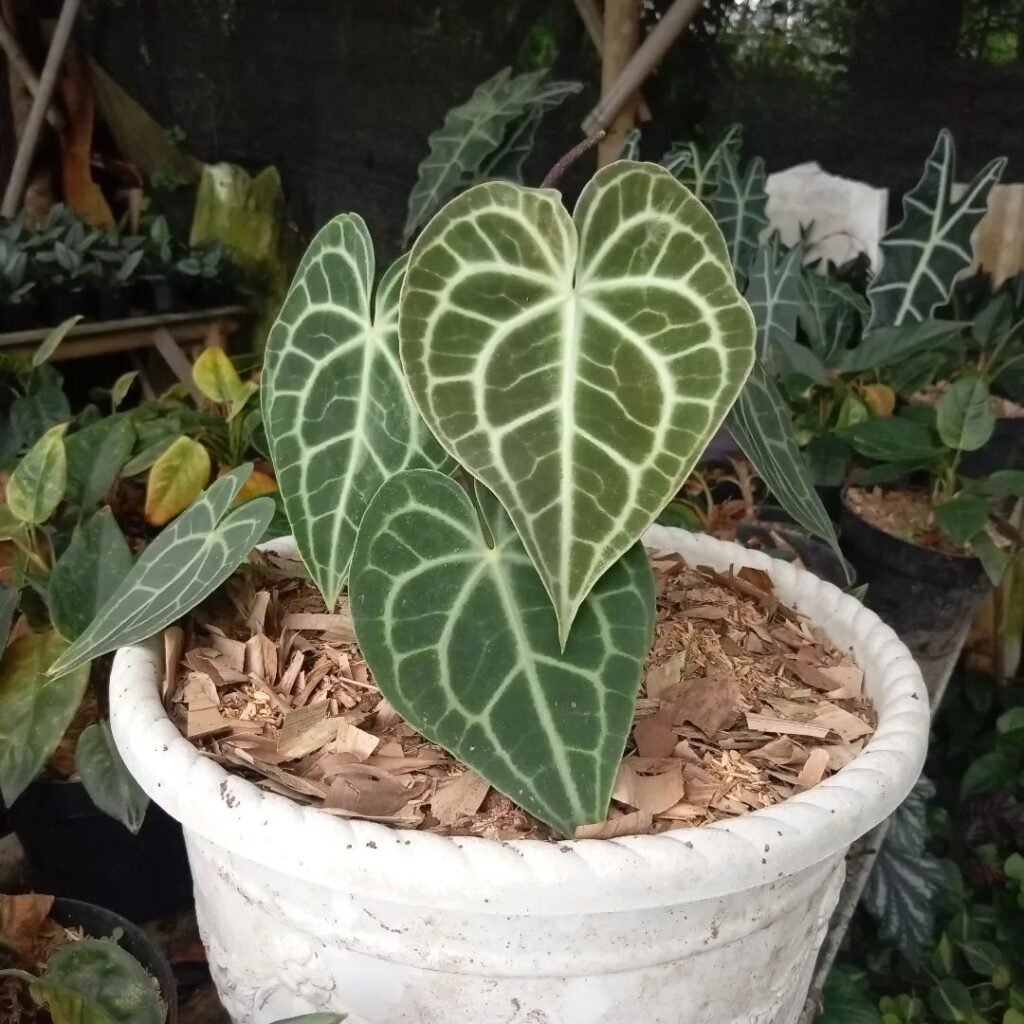
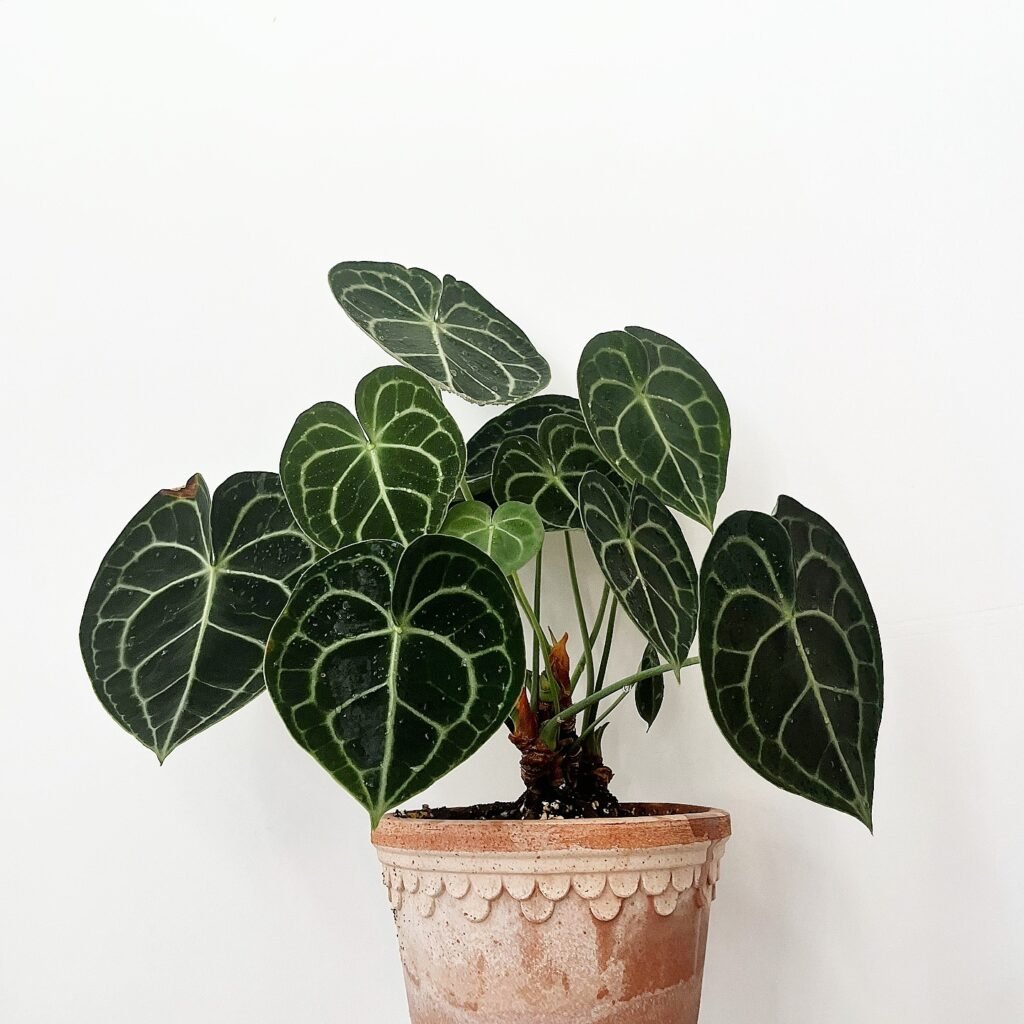
For new gardeners, it’s worth noting that the heart-shaped leaves can grow quite large, highlighting the plant’s dramatic veining and the plush texture that makes it so unique. This plant doesn’t just bring a touch of the exotic to your home; its detailed, patterned foliage can transform any space into a more intriguing and stylish environment. Whether you’re a seasoned plant enthusiast or new to the gardening world, the Anthurium clarinervium is sure to captivate and impress with its stunning beauty and distinctive characteristics.
 Did you know? The Anthurium Clarinervium, or Velvet Cardboard Anthurium, is not just a looker. Its flowers can produce heat, mimicking decomposing matter to lure in pollinators – a brilliant example of nature’s adaptability and creativity.
Light Requirements for Velvet Cardboard Anthurium
Anthurium clarinervium, also known as Velvet Cardboard Anthurium, is a beautiful indoor plant that adds a touch of elegance to any space. To ensure the health and growth of this stunning plant, it’s important to provide it with the right amount of light.
Anthurium clarinervium thrives in medium to bright, indirect light. It should be placed in a location away from direct sunlight, as excessive exposure can lead to sunburn and dehydration. Avoid placing it too close to operating heaters or in excessively dark areas.
Proper lighting is crucial for the overall health and growth of Anthurium clarinervium.
The plant’s unique dark green, velvety leaves with striking white patterns need ample light to maintain their vibrant appearance. By placing your Anthurium clarinervium in a well-lit spot, you can ensure that it continues to showcase its stunning heart-shaped leaves.
However, it’s important to strike a balance and avoid exposing the plant to direct sunlight for extended periods as it can lead to leaf damage. Remember, indirect light provides the perfect environment for your Anthurium clarinervium to thrive.
- Place your Anthurium clarinervium in a well-lit area away from direct sunlight.
- Avoid placing it too close to operating heaters or in excessively dark areas.
- Ensure that the plant receives medium to bright, indirect light for optimal growth.

Watering Tips for Anthurium Clarinervium
Anthurium clarinervium requires regular watering to thrive. The key to successful anthurium clarinervium care is maintaining the right moisture level in the soil. Here are some watering tips to keep your indoor plant healthy:
- Keep the soil evenly moist: Anthurium clarinervium prefers slightly moist soil. Water the plant when the top inch of the soil feels dry to the touch. Avoid letting the soil dry out completely, as this can cause stress and leaf damage. Overwatering, on the other hand, can lead to root rot, so finding the right balance is crucial.
- Avoid overwatering: It’s important not to overwater your anthurium clarinervium. Make sure the pot has proper drainage holes to prevent water from pooling at the bottom. If excess water accumulates in the saucer, discard it to avoid waterlogged roots.
- Water sparingly during winter: During the winter months, when the plant goes into a dormant period, reduce the frequency of watering. Allow the soil to dry out slightly more between waterings to mimic its natural growth cycle.
- Use room temperature rainwater: Anthurium clarinervium benefits from using rainwater, as it is free from harmful chemicals present in tap water. Collect rainwater and allow it to reach room temperature before using it to water your plant.
- Let tap water stand for at least 24 hours: If rainwater is not available, you can use tap water. However, let the water sit for at least 24 hours in an open container before using it. This allows harmful chemicals, such as chlorine, to dissipate, making it safer for your plant.

Fertilizing and Soil for Velvet Cardboard Anthurium
In order to ensure the healthy growth of Anthurium clarinervium, regular fertilization is essential during its growing season. By using a houseplant fertilizer specifically labeled for Anthuriums every two months, you can provide the necessary nutrients for optimal development and vibrant foliage.
Furthermore, the soil in which Anthurium clarinervium is planted plays a crucial role in its overall well-being. It is important to create a well-draining soil mixture that closely mimics the plant’s natural habitat. An ideal option is to use orchid soil made from coarse pine bark, as it promotes proper drainage while maintaining the required moisture levels.
When selecting a pot for your Anthurium clarinervium, it is essential to consider proper drainage. This ensures that excess water flows out, preventing waterlogging, which can lead to root rot. By taking these steps to provide the correct fertilization and soil conditions, you can support the health and vitality of your Anthurium clarinervium houseplant.

Pruning and Maintenance for Anthurium Clarinervium
When it comes to anthurium clarinervium, pruning is not a task that requires much attention. However, there are a couple of essential maintenance practices that can help keep your plant healthy and thriving.
If you notice any old, brown leaves on your anthurium clarinervium, it’s beneficial to remove them at their base. This simple act conserves energy for new growth and promotes a neat appearance. Remember, always prune from the base of the stem to avoid causing unnecessary stress to the plant.
Additionally, regularly dusting the large leaves of the anthurium clarinervium with a soft, damp cloth is essential. This simple maintenance task prevents dust buildup, allowing the plant to photosynthesize effectively. Clean leaves contribute to the overall health and beauty of your anthurium clarinervium.
To ensure proper growth and well-being, maintaining appropriate humidity levels is crucial. Anthurium clarinervium prefers a humidity level of about 60-70%. You can achieve this by misting the leaves regularly or placing a tray of water near the plant to increase the surrounding humidity.
Pests can sometimes become an issue for anthurium clarinervium. Regularly inspecting your plant for common pests like aphids or spider mites is essential. If you notice any signs of infestation, take appropriate measures to get rid of the pests. You can use natural pest control methods or consult with your local garden center for suitable solutions.
So make pruning and maintenance a part of your regular houseplant care routine, and your anthurium clarinervium will continue to thrive, displaying its stunning foliage for years to come.

Propagating Anthurium Clarinervium (Velvet Cardboard Anthurium)
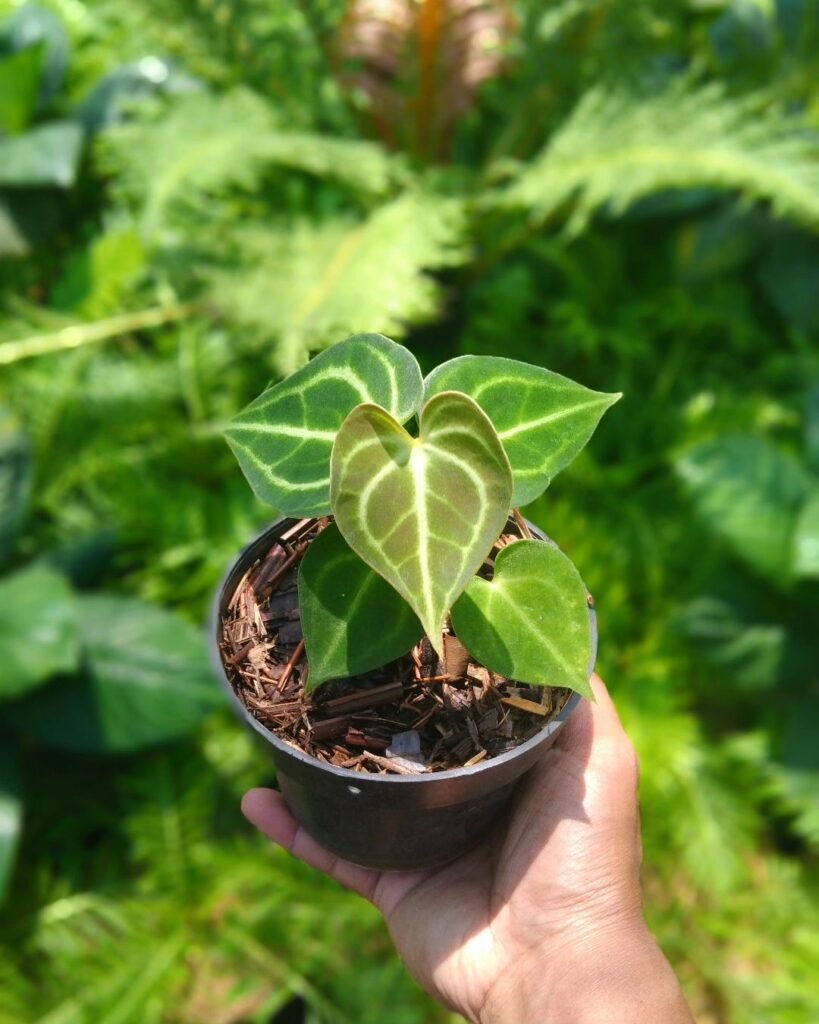
Propagating Anthurium clarinervium is a rewarding way to expand your collection of these beautiful houseplants. By following the stem division technique, you can create new plants from the existing one, ensuring their continued growth and enjoyment. Here’s how you can propagate Anthurium clarinervium:
- Carefully separate the root ball into two or more parts, ensuring that each part has sufficient roots and leaves. This will give the new plant the best chance of thriving.
- Place each divided part in a separate pot with well-draining soil. This will provide the new plants with the necessary nutrients and drainage for their growth.
It’s important to note that spring is the ideal time for propagating Anthurium clarinervium, as it coincides with the plant’s natural growth period. During this time, you can also consider repotting the parent plant to provide it with fresh soil and a larger pot.
While propagating Anthurium clarinervium can be an exciting process, it’s essential to handle the plant with care. Remember that Anthurium clarinervium is slightly poisonous, so wearing gloves is recommended when undertaking any propagation activities.

Repotting Tips for Anthurium Clarinervium
Repotting Anthurium clarinervium is an important part of houseplant care to ensure its continued growth and health. Here are some tips to help you successfully repot your Anthurium clarinervium:
- Timing: It is recommended to repot your Anthurium clarinervium every two to three years for older plants and annually for younger ones. Spring, at the beginning of the growing season, is the best time for repotting.
- Potting Mix: Choose a well-draining potting mix that replicates the plant’s natural environment. A mixture of orchid bark and houseplant compost works well for Anthurium clarinervium. This ensures proper drainage and prevents waterlogging.
- Process: Carefully remove the plant from its current pot, gently untangling the roots if necessary. Place the plant in the new pot, ensuring it is centered and at the same depth as before. Fill the remaining space with the potting mix, pressing it gently around the roots.
- Root Health: Repotting promotes healthy root growth by providing fresh soil and more space for the roots to expand. This allows the plant to absorb nutrients effectively and prevents root-bound conditions.
Did you know? The Velvet Cardboard Anthurium’s velvety leaves purify air, making your home healthier and more beautiful. It’s also easy to care for, perfect for any gardener.
Helpful Videos about Growing Anthurium Clarinervium
In this handpicked video series, I am thrilled to share with you the enchanting world of the Anthurium Clarinervium, affectionately known as the Velvet Cardboard Anthurium. I have compiled a selection of videos that provide clear, straightforward advice on how to care for this exquisite plant. Tailored for beginners, this series will take you step by step through the fundamentals of ensuring your Anthurium Clarinervium thrives, making plant care accessible and enjoyable for everyone.
- Anthurium Clarinervium Care Tips, Pollination and Propagation Guide
- Anthurium Clarinervium Care Tips and Propagation – WITH UPDATES!
- FIX Brown Tips PROBLEM – Anthurium Plant Care
FAQ about Anthurium Clarinervium (Velvet Cardboard Anthurium)

Intrigued by how to care for your Anthurium Clarinervium (Velvet Cardboard Anthurium)? Dive into my comprehensive FAQ for essential tips on keeping your plant in peak condition. Discover everything from the perfect lighting conditions to proper watering techniques and ongoing maintenance. I’ve compiled everything you need to ensure your Anthurium Clarinervium thrives, tailored for newcomers to gardening.
Anthurium Clarinervium thrives in bright, indirect light. Direct sunlight can scorch its leaves, so it’s best placed in a spot that receives filtered light throughout the day.
Water your plant when the top inch of soil feels dry to the touch. This usually means watering once a week, but adjust based on your home’s humidity and temperature.
A well-draining, airy potting mix is ideal. You can use a mix designed for orchids or create your own by blending peat moss, pine bark, and perlite.
If the leaves start to yellow or develop brown, crispy edges, it might be receiving too much direct sunlight. Move it to a shadier spot to prevent further damage.
Yes, if your bathroom receives enough natural light and is well-ventilated. Anthurium Clarinervium loves humidity, making bathrooms an ideal location.
Repot every 2-3 years or when you see roots emerging from the drainage holes. Spring is the best time to repot, using a slightly larger pot each time.
Overwatering can lead to yellowing leaves and root rot. If the soil feels soggy or you notice a musty smell, let the soil dry out more between waterings.
Place a humidifier nearby, group it with other plants, or set the pot on a tray filled with pebbles and water (ensuring the pot isn’t sitting in water).
Use a balanced, water-soluble fertiliser diluted to half strength every 4-6 weeks during the growing season (spring through summer).
Prune away any yellow or damaged leaves at their base using clean, sharp scissors. This helps the plant direct energy to new growth.
Yellow leaves can result from overwatering, low humidity, or nutrient deficiencies. Assess your care routine to identify and address the issue.
It can tolerate low light but will grow slower and produce fewer flowers. For optimal health, provide bright, indirect light.
The best method is by division during repotting. Carefully separate a section with roots attached and pot it in its own container.
Yes, it contains calcium oxalate crystals which can be irritating if ingested by pets. Keep it out of reach of curious pets.
Lack of flowers can be due to insufficient light, incorrect fertilisation, or the plant’s age. Ensure it’s receiving bright, indirect light and consider using a phosphorus-rich fertiliser.
Inspect regularly for signs of pests like aphids or spider mites. Treat infestations early with insecticidal soap or neem oil.
It prefers temperatures between 18°C to 25°C. Avoid placing it in draughty areas or near heat sources.
Yes, but if your tap water is hard or chlorinated, it’s better to use filtered or rainwater to avoid leaf burn.
Brown tips can indicate low humidity, over-fertilisation, or fluoride in the water. Try increasing humidity or using filtered water.
I hope this acts as your stepping stone towards mastering the care of your Anthurium Clarinervium (Velvet Cardboard Anthurium). If you have any more questions or need guidance, please feel free to leave them in the comments – I’m here to help. Remember, every gardener starts from the ground up, and there’s a whole fascinating world of knowledge waiting to be discovered about your exquisite plant.
Conclusion
Anthurium clarinervium, with its stunning and unique appearance, is a houseplant that requires specific care to thrive. By following proper techniques for lighting, watering, fertilizing, pruning, and repotting, you can ensure the health and longevity of your Anthurium clarinervium. It’s important to handle this plant with care due to its slight toxicity.
Providing your Anthurium clarinervium with the right amount of light is crucial. Place it in a location with medium to bright, indirect light, away from direct sunlight. Proper watering is key to its well-being, ensuring the soil is evenly moist, allowing the top third to dry out before watering again.
Fertilize your Anthurium clarinervium every two months during the growing season with a houseplant fertilizer labeled for Anthuriums. Use a well-draining soil mixture that replicates its natural environment, such as orchid soil made from coarse pine bark.
Regular maintenance includes pruning old, brown leaves and dusting the large leaves to prevent dust buildup. Propagation can be done through stem division, and repotting should be done every two to three years. Remember to wear gloves when handling Anthurium clarinervium due to its slight toxicity.
With proper care and maintenance, your Anthurium clarinervium will continue to showcase its beautiful heart-shaped leaves, adding a touch of elegance to your indoor space.